How and when to pot on chilli seedlings

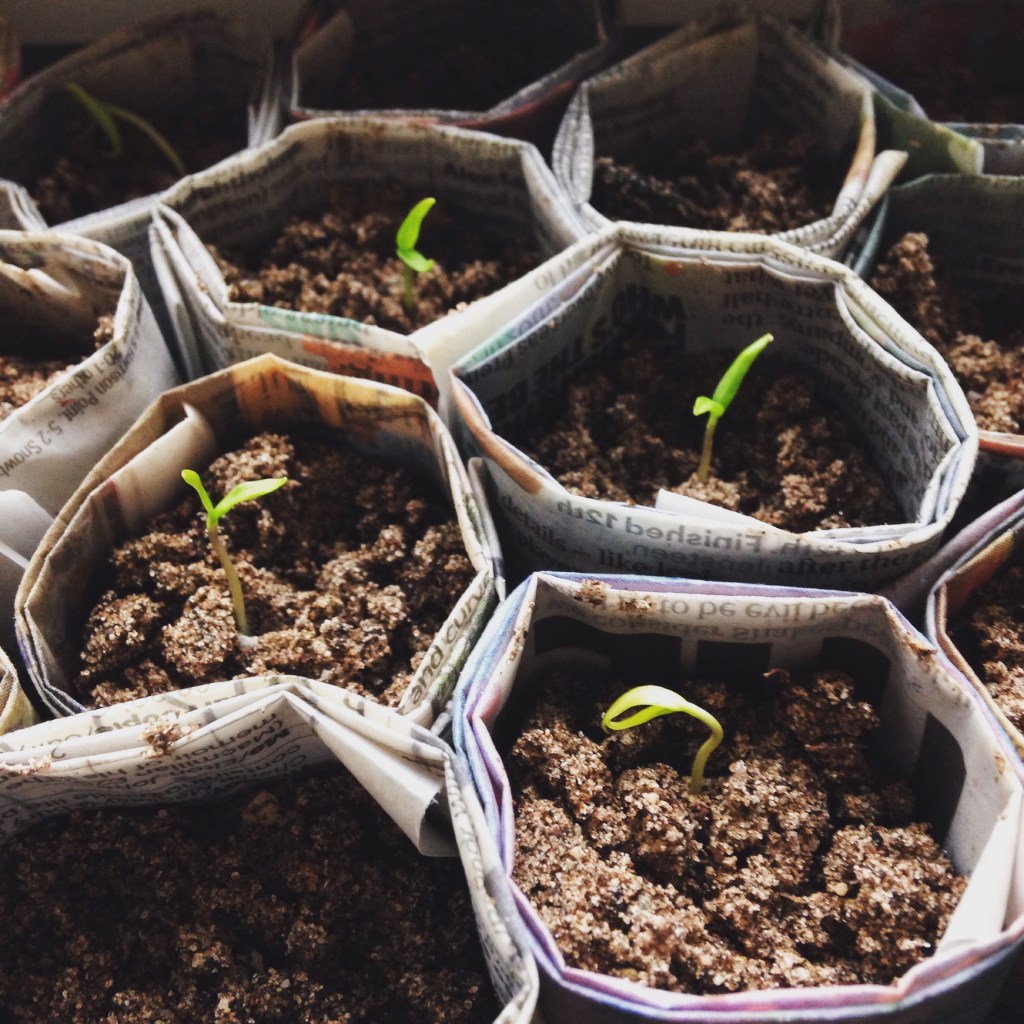
Here we go again. The seeds have germinated, true leaves are growing. All seems well. And then, suddenly it dawned on us that these precious babies might need a bit more than a teeny tiny pot and seed compost. What next?

Reporting, ready to POT ON, Sir!

Have a look

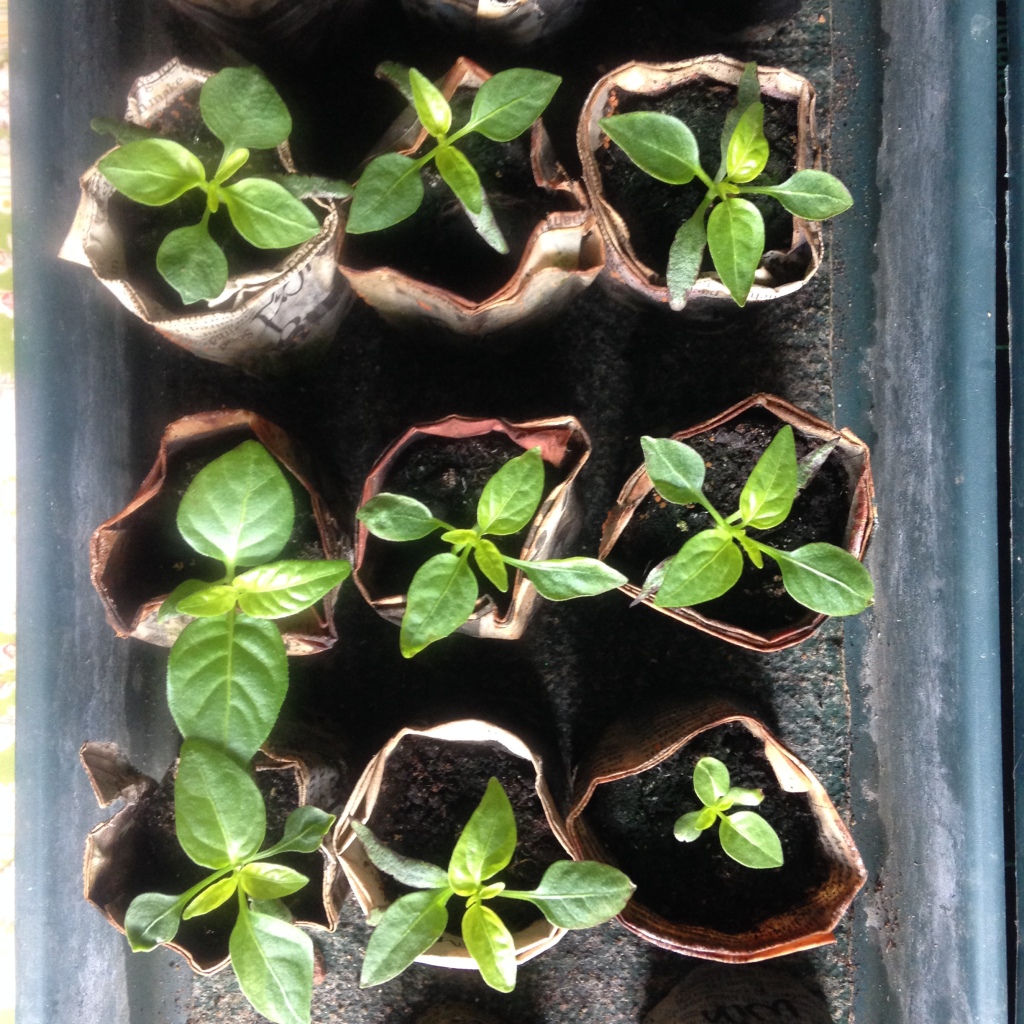
A seedling that is ready to pot on for the first time will be showing certain key signs:

  1. It will actually be growing. Smaller leaves becoming bigger leaves. The plant will be getting taller. New leaves green up. Plants just sitting there, existing with two seed leaves, sulking, are not ready for a bigger pot yet.
  2. The water is being used up quickly in the first pot. Another sign the plant is growing well and using what you give it.
  3. Maybe a root or two are poking out of the bottom. Chillies like to be potted on incrementally. Not straight into a whopping great 20L pot. The surest sign they’re ready to move home is little white roots peeking out underneath.

Get prepared

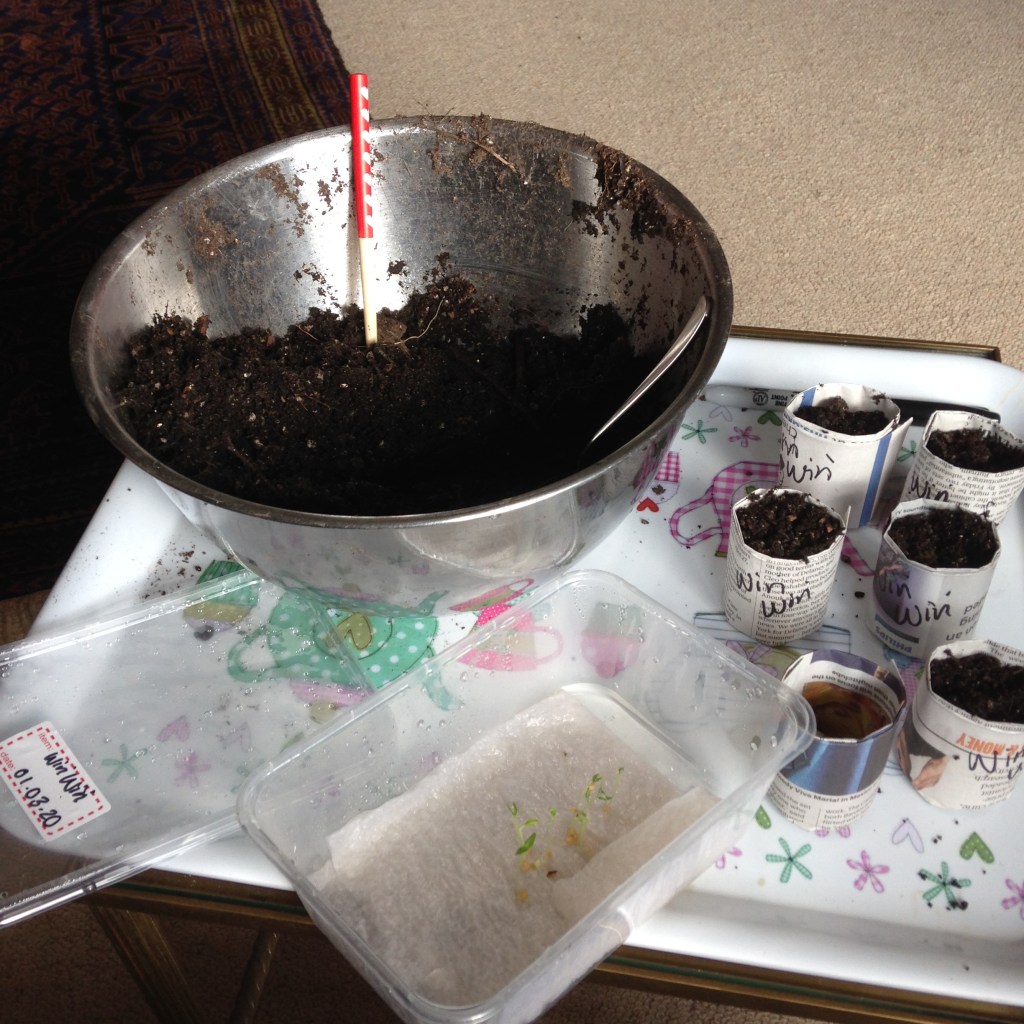
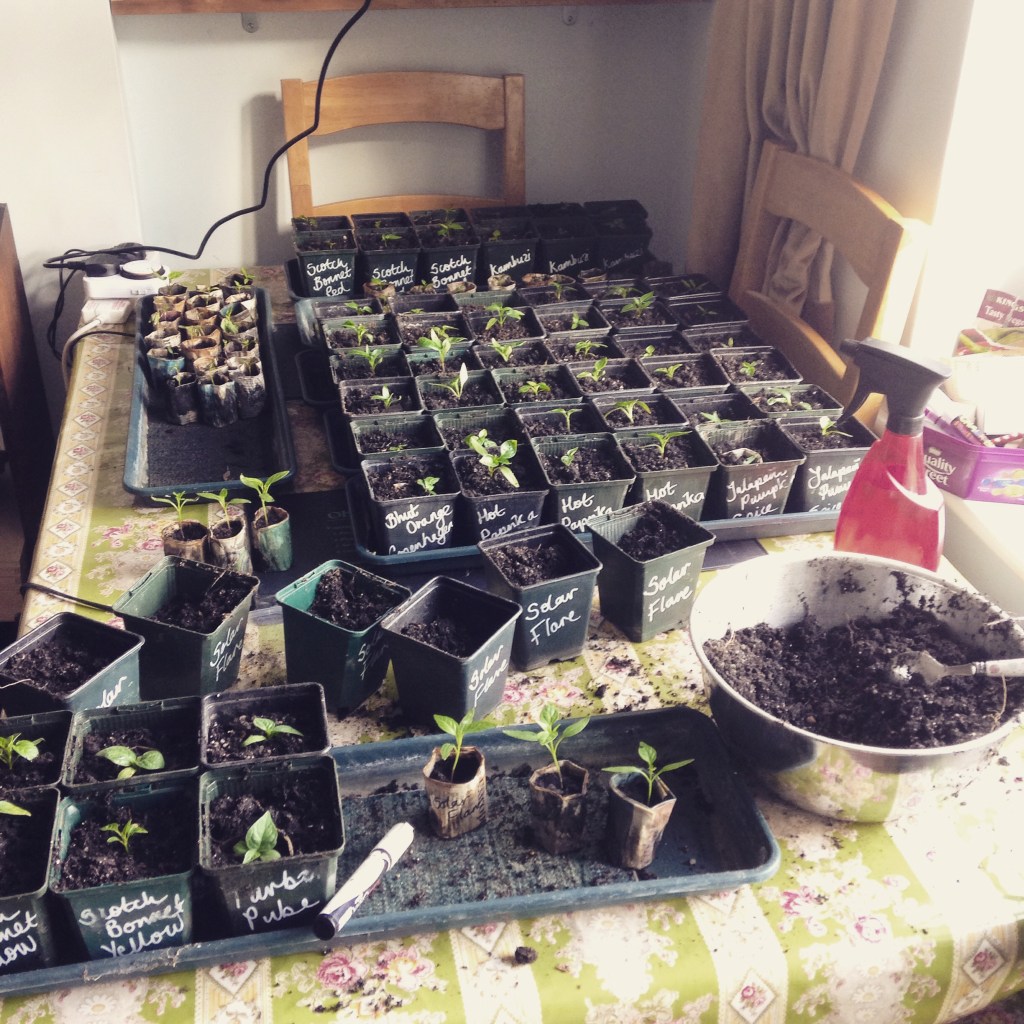
The seedlings will wait a couple of extra days whilst you prepare their new home. Get the next size pot in from the cold shed/garage/backdoor step/unheated greenhouse. Bring in any soil that is going to used and let it warm up. Prepare your work station, table coverings, labels, pens, dibber, watering can, chilli feed, trays, capillary matting. It’s like preparing for the arrival of a new baby. Get all the kit sorted in advance. We all have our preferences but make sure you’ve got all your fave tools to hand. We like a teaspoon and a chopstick at this stage.

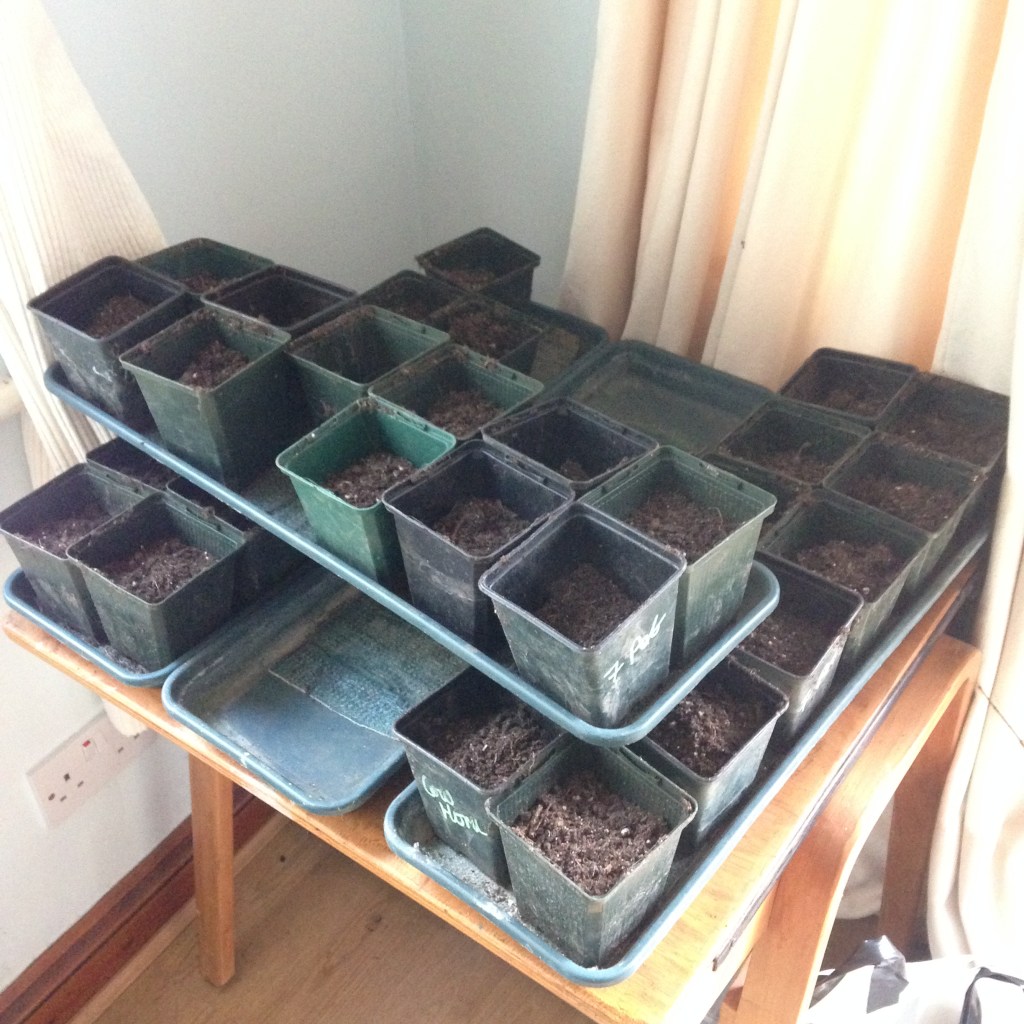
Your pot of choice will depend on your preference and circumstance. We have been collecting and reusing 9cm square pots at this stage for some years now. These suit us for many reasons: they come to us via purchases at a favourite nursery (West Kington Nurseries name check)… friends and family give them to us…they fit together with no spaces… they fit well on the trays we use on our window sills in the Winter months… easy to stack and store… easy to keep clean… good to write on with chalk pens for labels… discourages roots from going round and round…durable and last for a number of years. Some of our pots are easily seven years old, if not older. Virtually family.

Pick a pot that works for you.

Ahh, but what type of soil?

A free draining soil mix will suit chilli babies

Much has been written about soil type. Lots of advice is out there. Last season we spent many hours researching, sourcing, combining, mixing and using a very special Birdhouse Mix. It all seemed very important at the time. You can read our 2019 soil post here:

https://birdhousechillies.com/2019/02/06/the-quest-to-find-the-best-soil/

But this year, we are doing things a little differently. We have saved and are reusing the Birdhouse Mix soil from pots last year. *Gasp* I hear you all draw breath. It is not the done thing according the the Wise Growing Elders. And it is certain that some of you will just plain disagree with our actions. No problem, we all garden our own way. However, in this day & age of recycle, reuse and reduce, it surely makes sense to reuse the soil we so lovingly created. So we are.

If we’re not convincing enough then why not listen to Alys Fowler, gardening extraordinaire.

https://www.theguardian.com/lifeandstyle/2019/may/18/how-to-reuse-old-compost-alys-fowler

So how to ensure the old compost is put to good use…and is actually good for our chillies?

Check the texture. Is it good and friable (best word EVER)? Rub through any clumps as if making pastry. The baby chilli roots need air around them and need to be able to push through the soil to spread out. Fluff the soil up nicely for them.

Check the content. Are there pests, seeds, twigs, berries, fungus, or other microbes that could cause harm to the new plants? If so, discard. Pick out any old roots. Our soil store is directly under a gargantuan Holm Oak tree. Great volumes of waxy leaves fall into the soil. They too have to be picked out. Grrr!

Check your intentions. Do you intend on feeding your plants? (Yes!) A liquid feed is perfect for reused compost. If not then you may need to add a general fertiliser or want to consider a more nutritious soil to start with.

Check any supplements. Some people add water retention beads. You may want to add grit, perlite or vermiculite (or cat litter, Alys). Good drainage is best for chillies. Our soil mix has plenty of grit, sand and perlite already so we just added a 10% of peat free multi-purpose compost, just to add bulk and a touch of all round nutrients for the next few weeks. We also add a layer of horticultural grit at the bottom of each pot to avoid the roots sitting in anything too wet.

Are we ready to pot now?

Potting on and on and on

And now you can pot on. This is how we do it:

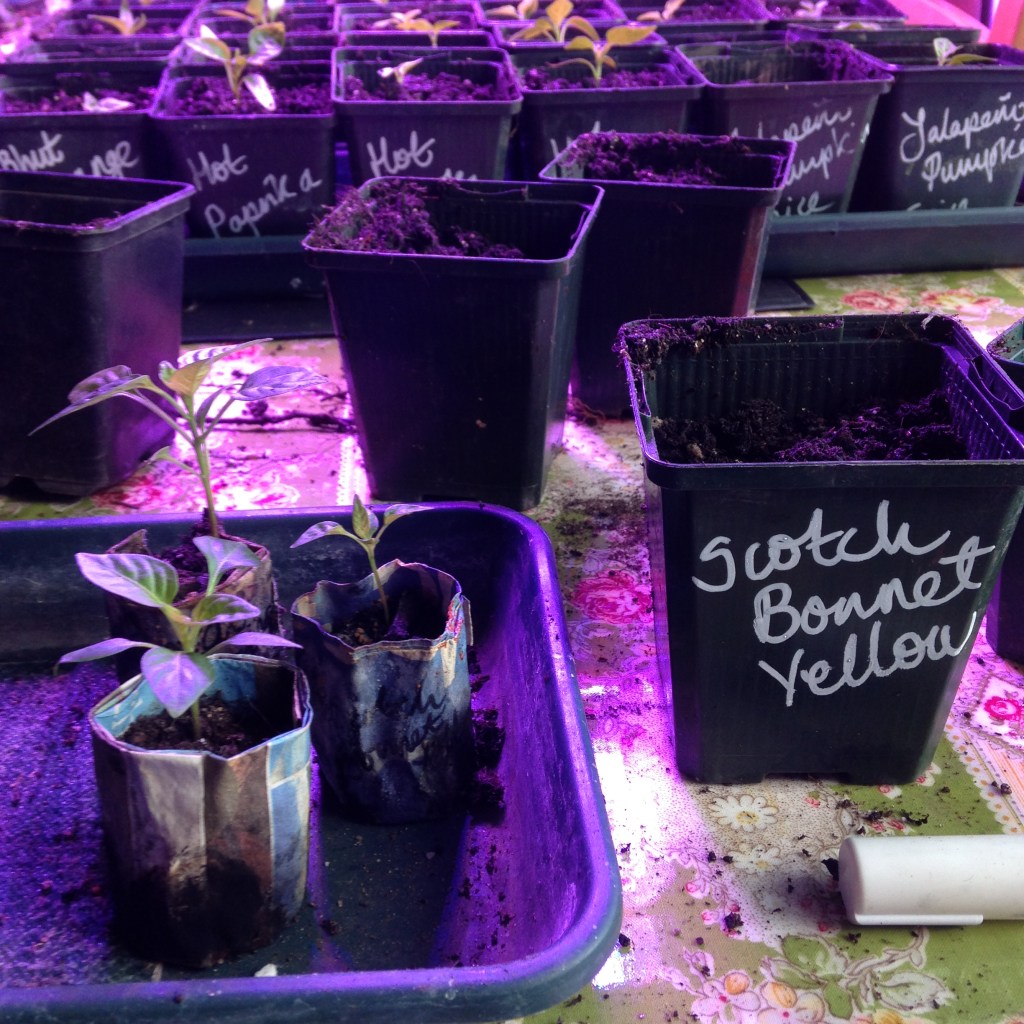
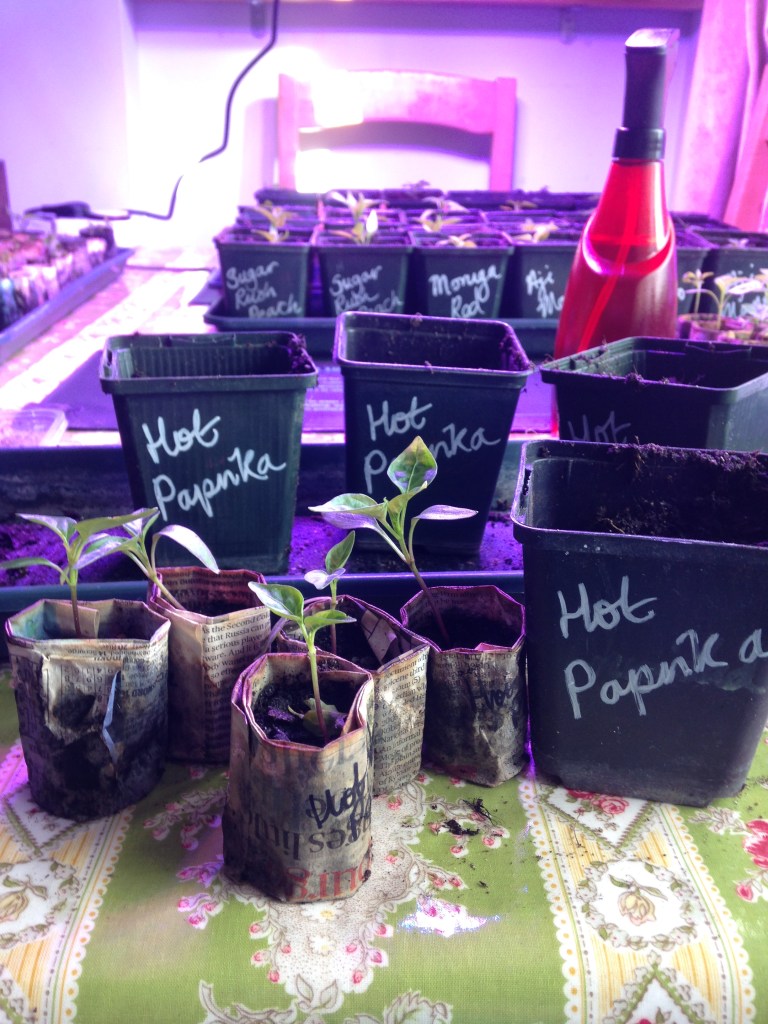
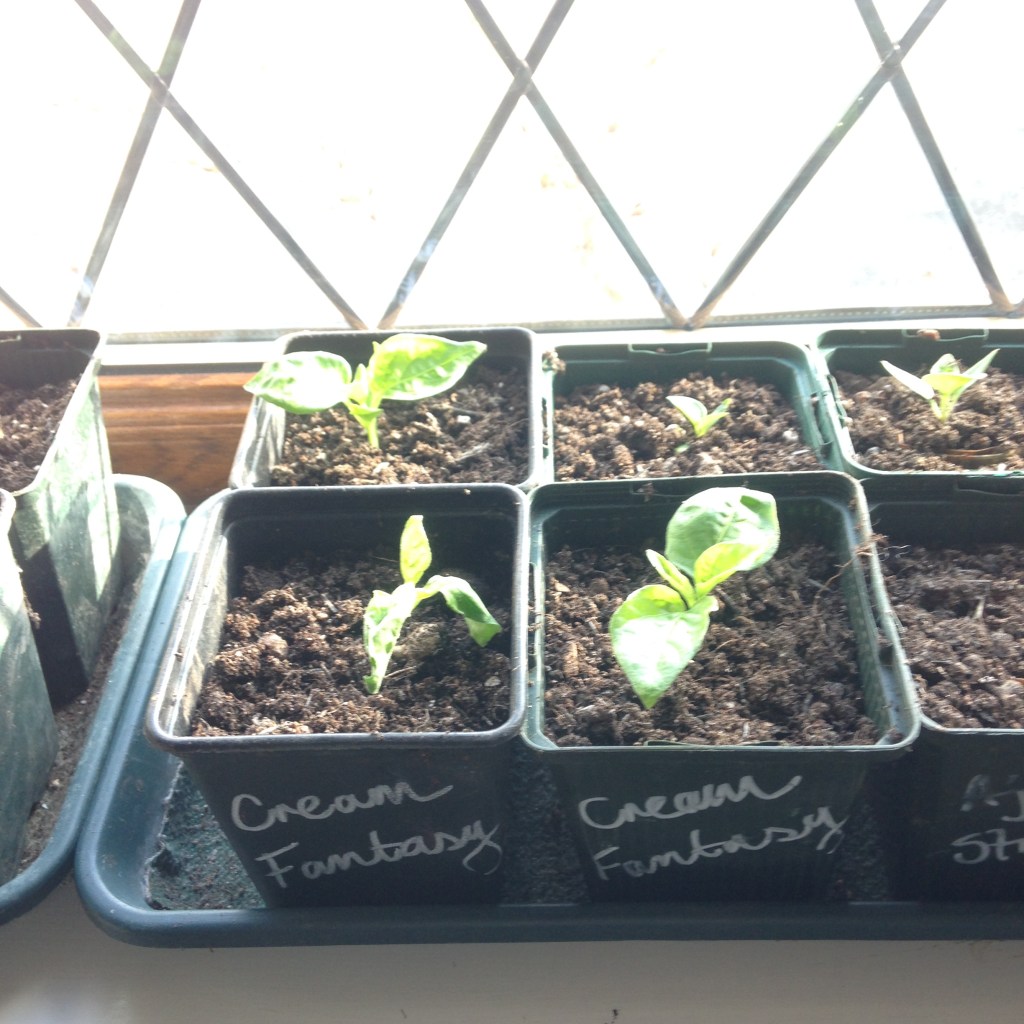
  1. Select your first seedling, check which variety it is and label its new 9cm square pot. We use chalk pen.
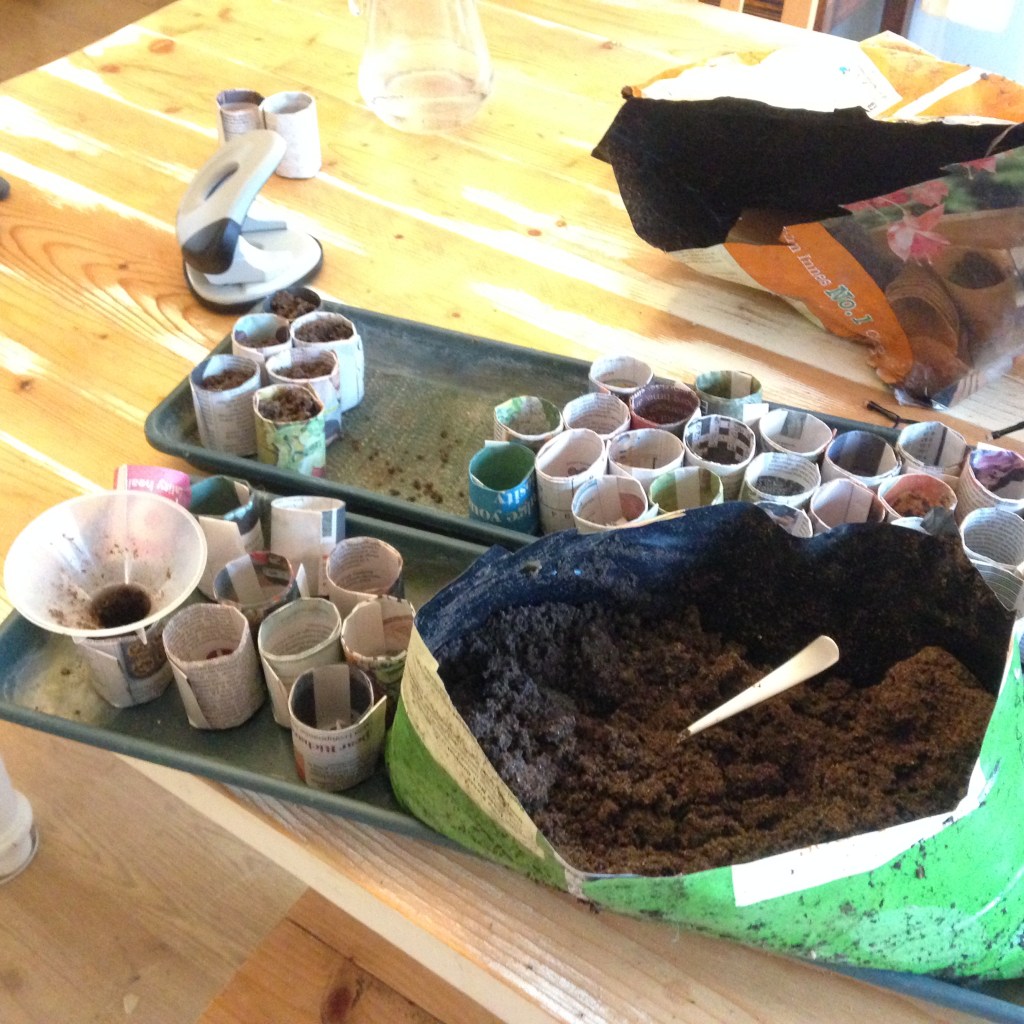
  2. Put a layer of horticultural grit in the bottom of the pot, followed by a layer of lightly damp, warmed soil.
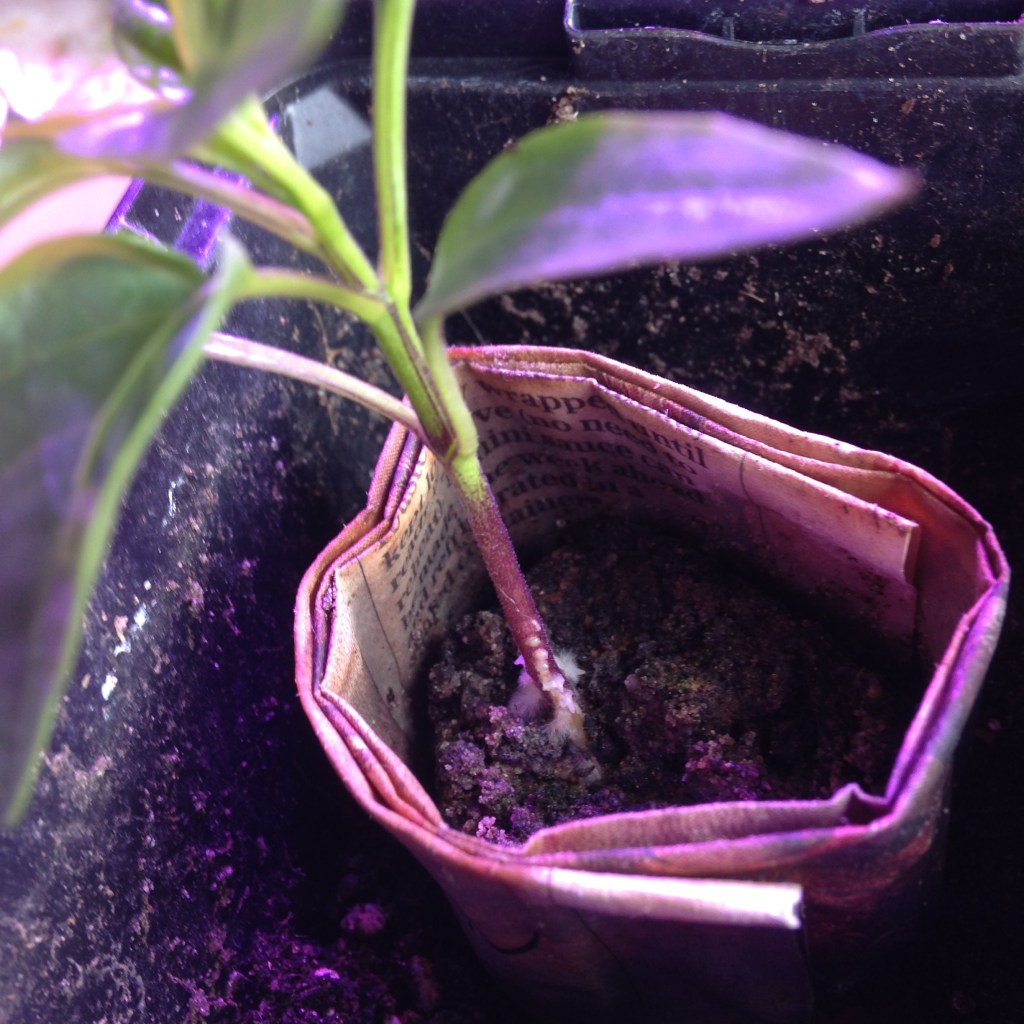
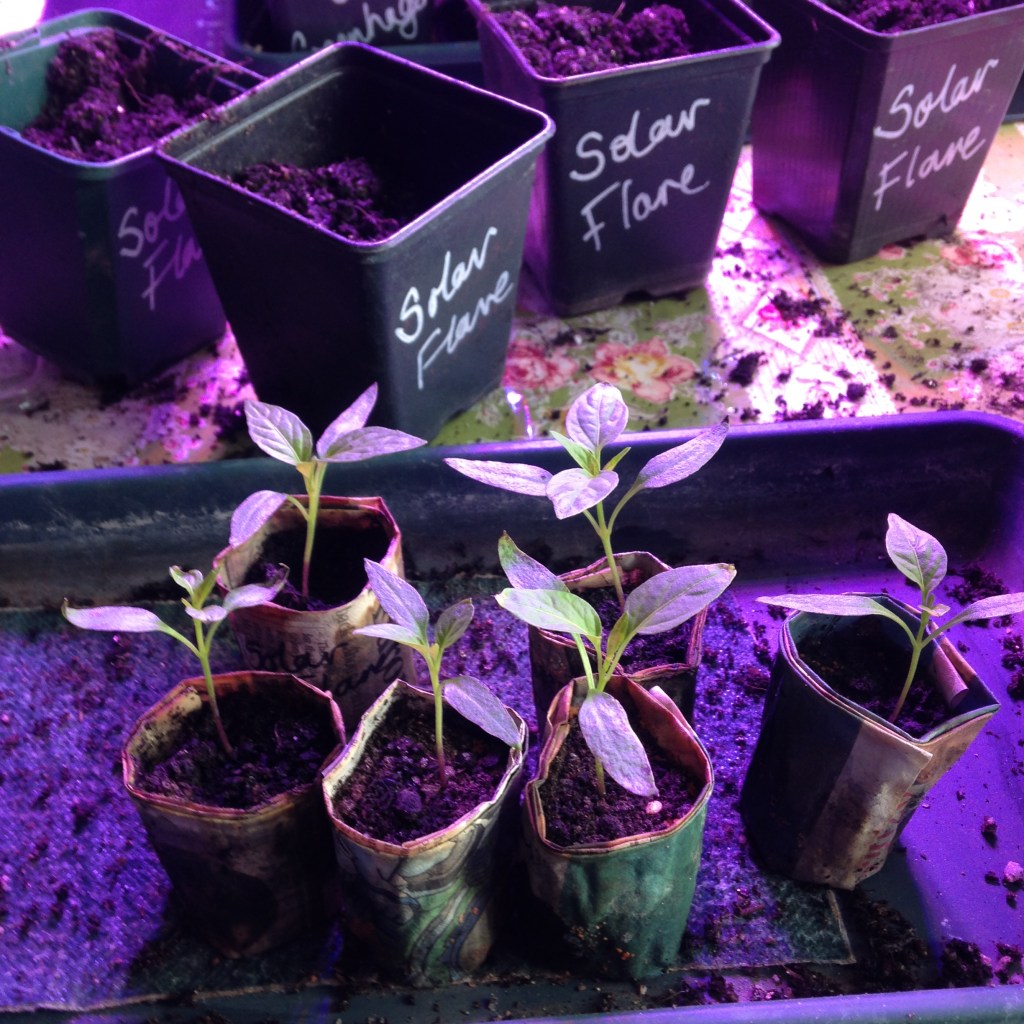
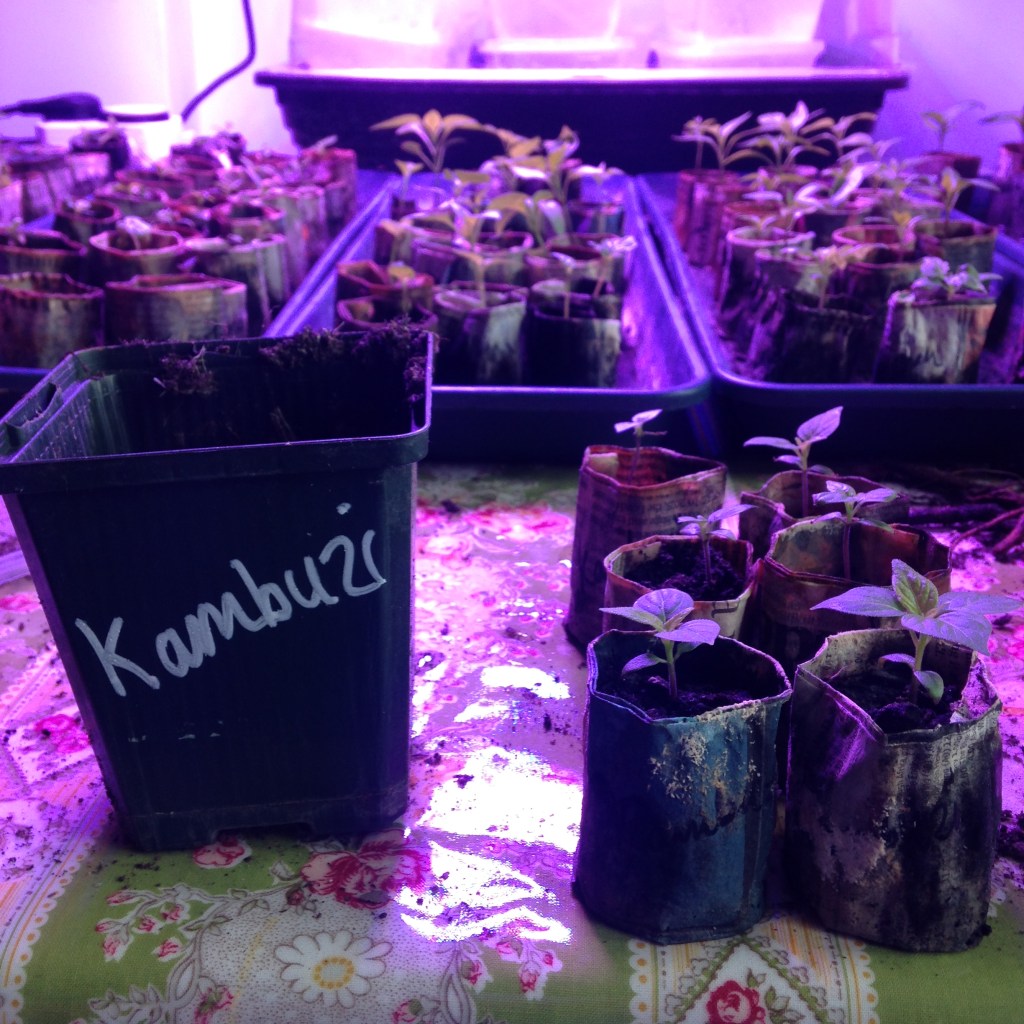
  3. Our seedlings are in newspaper pots. Then can just be popped on top of the soil layer.
  4. Back fill around the pot. If the seedling is leggy then top the soil up until just under the seed leaves. Gently not to damage the stem as that could cause weakness later on.
  5. Pick up the pot and gently knock it on a surface to settle down the soil without compacting it. Top up if need be.
  6. Place the pot on a tray lined with capillary matting.
  7. Water with a weak feed. Warm water, from the base.

Presenting the Class of 2020 in their new pots

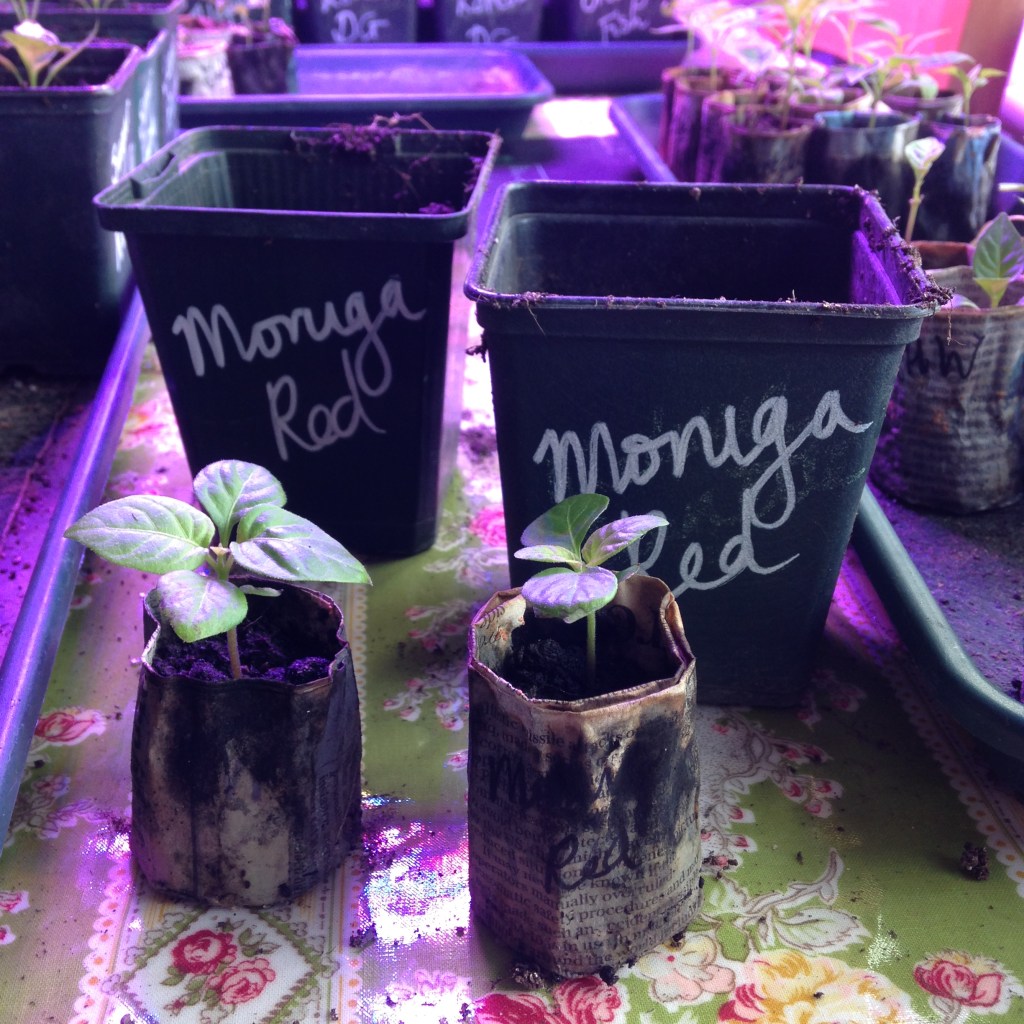
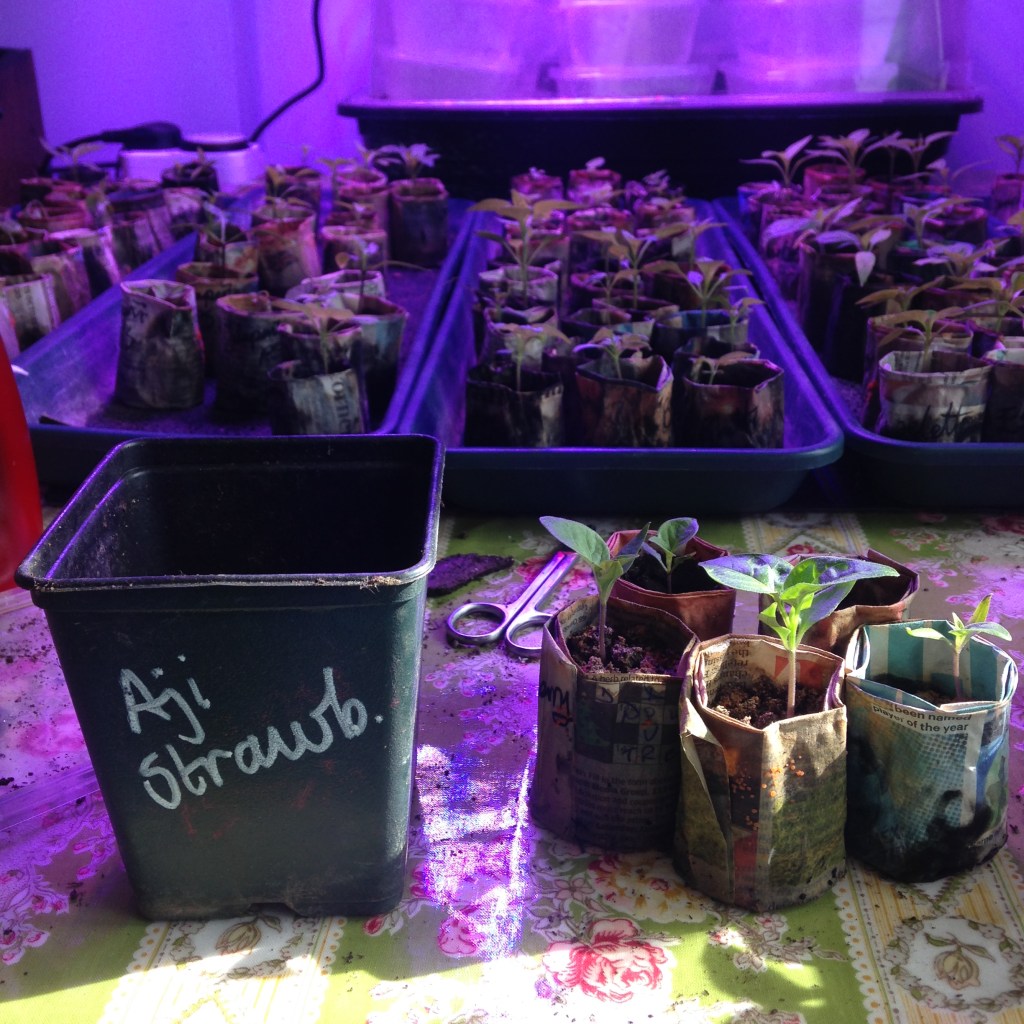
Of course a chilli head’s work is never done. Here are the rest of the Class of 2020. Chinense on the right, gradually putting on bulk. On the left are the late germinators. Mostly Annuums so they should be fine. All too little for new pots yet.

Not quite ready to pot on.

Potting on chitted chilli seeds

Having soaked our chilli seeds in tea; chitted them on warm, damp kitchen paper until they germinated; and sung sweetly to them… it is now time to plant them in some actual soil and let them do their thing.

The beginning of the new year is a cold, dark and lonely time for a seedling in the UK. We look after our chilli babies the best we can to stop them being affected by the January Blues.

So what exactly do we do?

Paper pots

Careful preparation is the name of the game. We make newspaper pots using a wooden pot maker. Each germinated seed gets popped into a warmed paper pot for the next stage of its journey

These pots are perfect for us because…

  • they are free,
  • made from recycled materials,
  • can be potted directly into a bigger pot, with minimal root disturbance
  • can be composted at the end of the season
  • No labelling mix-ups, just write on the outside of the pot.

Ok, so they take time to make and are a little flimsy. They can dry out quickly, especially on a heated surface or in direct sunlight but we love them and they work for us.

Paper pot production goes into overdrive as we attempt to keep up with the number of seeds that are germinating. 50 is our goal today, must get rolling!

Seed compost

The seedlings need very little to start of with as they are still being fed from the endosperm (food stash from within the seed). Use a dedicated seed compost as it is low nutrients, good drainage, small particles. All good for little roots trying to develop.

A couple of teaspoons of seed compost fill each pot. Don’t forget to write the variety on the outside BEFORE you water

Warmth

Gently warm the paper pots filled with seed compost BEFORE the seedlings are put in the soil. This means there is no shock to the system and they should continue to grow as if nothing has changed.

We place our pots on plastic windowsill trays. Lined with capillary matting. These tray conveniently rest on top of our radiators. Soil stays warm. Chillies LOVE it!

In addition to keeping the pots warm we use warm water when giving the seedlings a drink. Water from the base every few days. Careful not to overwater as waterlogged soil can check growth. Keep an eye on the outside pots as they will dry out quicker than the inner ones.

Warming nicely

Light

Make sure the seedlings get as much natural light as possible. We started in January last year, grew under only natural light and had a pretty amazing harvest. We just had to rotate a lot. The light keeps the plants from getting too leggy in the early days. Consider a set of grow lights. We are about to embark on this journey with our first set of lights: The Phlizon 1200W. More will be said about this at a later date.

Feed

After a week or so, once the seed leaves are unfurled and looking a good strong green, we start to feed a weak solution of Chilli Focus. Not too much, or the roots can burn, just enough to keep the wolves at bay. 5mls to litre of warm water should do it.

Start to feed after each seedling has

And there you have it, a simple but tested way of looking after your precious babies at this early stage of the game.

The race is on

The chillies have been chitting in their heated propagator. After their tea bath they were carefully strained then snuggled into the chitting pods (takeaway container + capillary matting). Finally they were placed into the heated propagator on the 17th January.

In the propagator the temperature stays above 25 degrees (even on the coldest of – 5 nights so far) and reaches the sweaty heights of 35 degrees +. The pods are stacked with the Chinense types at the bottom, nearer the heated base, and the Annuum varieties on top, not quite so warm.

img_9226

Without a thermostat it is impossible to keep the temp constant but it seems that most of the varieties have responded well. Here are the results so far…

Chilli (A=Annuum, Ch=Chinense)Date started chitting (after a soak overnight in some tea)Date of first germination
Jalapeno (A)17.01.1919.01.19
Serrano (A)17.01.1920.01.19
Aleppo (A)17.01.1921.01.19
Cow Horn (A)17.01.1921.01.19
Cherry Bomb (A)17.01.1921.01.19
Golden Greek Peperoncini (A)17.01.1921.01.19
Sweet Banana (A)17.01.1922.01.19
Scotch Bonnet (Ch)17.01.1922.01.19
Espelette (A)17.01.1922.01.19
Madame Jeanette (Ch)17.01.1922.01.19
Trinidad Perfume (A)17.01.1922.01.19
Padron (A)17.01.1922.01.19
Habanero Primero Red (Ch)17.01.1922.01.19
Guajilo (A)17.01.1925.01,19
Mustard Habanero (Ch)17.01.19Yet to germinate
Orange Habanero (Ch)17.01.19Yet to germinate

Not bad results for 8 days after starting.

img_9224.jpg
Jalapeno seeds starting to germinate just two days after soaking & chitting.

You may notice that a couple of previously mentioned chilli types (Poblano and 7 Pot Bubblegum) are missing from the first list. They have not yet turned up in the post. A refund will be requested. And, the very observant amongst you will have seen the addition of Serrano. These came free from one company. Lovely.

The seeds that germinated in the first few days are now in need of planting in their very first pot. These are newspaper pots filled with nutrient poor seed compost. We don’t want these tiny seedlings growing too quickly as daylight hours are still short and too much food will produce leggy seedlings. Hmmm, note to selves: do we need to think about a lamp?

img_9225
Cherry Bomb seedlings ready to be potted up.

Off to buy some seed compost and make 100 million more paper pots.