Yes. End of post.
If you’d like to know more about how then read on.
It is true that supplementary plant food can support your plant being the very best it can be. However, it is also true that too much of good thing can lead to many issues. Just like in us humans.
Get your chillies’ basic diet right – something that contains good levels of the core nutrients. Only after that, add a little extra. Only if needed. Sometimes less is more.
You can overfeed your chilli plants in a number of ways:
- Give them too much feed in one hit;
- Feed them too often;
- Not disperse built up of nutrient salts.
Lots of chilli growers favour a nutrient poor growing medium. This allows them to add whatever goodies they want, in the quantities they want, when the plant needs it. If you do opt for a more nutritious compost as part of your mix, remember that this will usually contain a general plant food that can last up to six weeks. Read the label to know what you are starting with before even thinking about adding extra.
After settling on your basic soil mix (this is our fave soil mix right now) how can you ensure you are giving the right amount of the right type of feed to your chillies?
Let’s start with the core components of a feed and then move on to quantity afterwards. If you want a clear guide to general fertilisers, the RHS guide is right here. Not chilli specific but well worth a read. Here’s The Birdhouse version with our precious chilli plants in mind…
Let’s get our heads around NPK
NPK, say WHAT?!
You know, check the back of that bottle of Miracle Gro liquid feed lurking on the top shelf in your shed – the one that has been there since 1994. See the ingredient list (NPK) next to some dodgy numbers (24: 8: 16)? That. That is the NPK number.
The NPK number can be interpreted and used in a few ways. It does not take a PhD to understand NPK but a little explanation goes a long way. The first thing is to know what N, P and K are and what they do…
N = Nitrogen Leaves are the powerhouse of the plant. They are packed full of chlorophyll, the green stuff. Chlorophyll uses the energy from sunlight to convert water and CO2 into plant sugar energy. A major component of chlorophyll is…you guessed it…Nitrogen. Boom! You want healthy leaves get some Nitrogen in yer plants!
P = Phosphorus- Tissue development is what Phosphorus is all about. A vigorous root system, strong supportive stems and full seed development all happen as a result of the right P balance. Phosphorus =Workhorse.
K = Potassium– In charge of transport and defence within the plant. This means levels of photosynthesis, uptake of nutrients from the roots AND removal of wastes are all reliant on the correct levels of potassium. Potassium also supports strong cell wall production, making plants better equipped to deal with infection, drought and pests. And it helps fruit set. You are our all round HERO, Potassium!
We have written previously about role of these macro plant nutrients in detail. Do look at at our blog post: NPK Values for chilli plants
A large percentage of feeds, fertilsers and magic cures for plants contain these three wonder nutrients. UK law says the quantity of NP and good old K must be stated on the label of each product.
Overdo (or underdo for that matter) any one of these core nutrients then your plants will not thank you. Get the balance right and you will have more chillies. Simple.
Ratio
The second way to consider the NPK number is as a ratio. The elements are always in the same order to avoid confusion. Ask yourself, are the N, P & K values balanced or imbalanced? Average chicken manure pellets have a 4:2:1 ratio. More nitrogen. Tomorite is 4:3:8, more potassium. A fertilister that contains a balance of N, P & K would have numbers the same or very close.
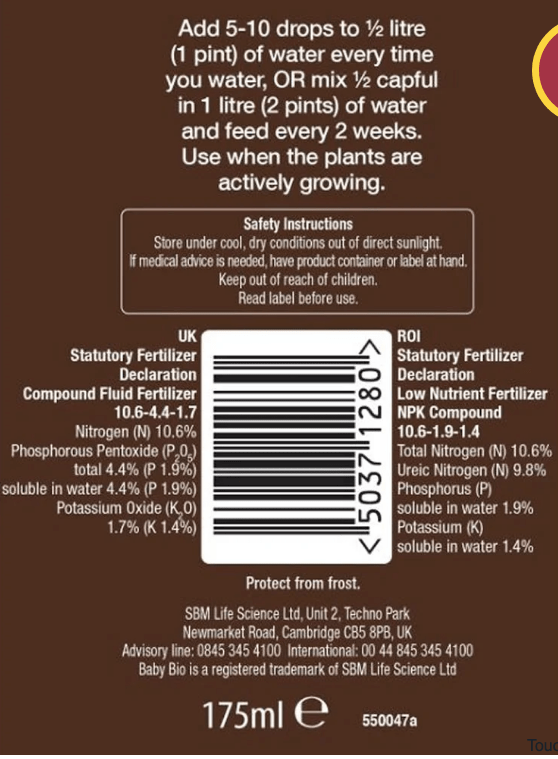
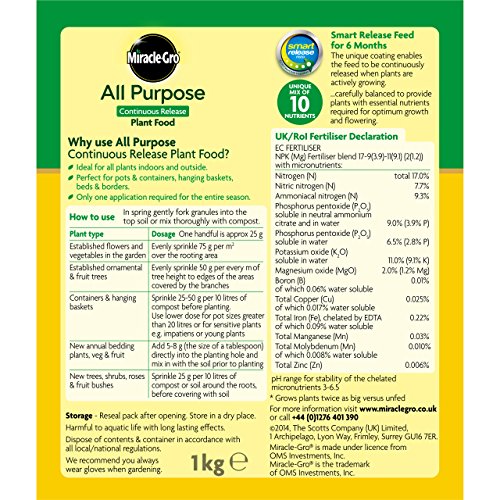
Just make sure you are looking at the correct percentages. You want the less obvious, pure element percentage – not the chemical compound percentage, e.g. Phosphorus Pentoxide 4.4% is actually only 1.9% Phosphorus. Granted this is a touch confusing but, using the same example, the true numbers are in brackets with their chemical symbol, e.g. Phosphorus Pentoxide 4.4 % (P 1.9%). Think you’ve got it? You can test your new found decoding skills on the labels below:

As a result of being able to crack the code of the NPK ratio, you can decide which fertiliser will suit your chillies’ needs at different times in their life. Growing first leaves? …choose feed that has a larger N number than the P and the K. Time to set fruit? …then perhaps opt for a K heavy ratio.
Just don’t overdo it. Always better to be a little under what the labels say than to double up and hope for double the chillies.
Concentration
The third way of using NPK is the SIZE of the numbers…the 7s in Growmore’s 7: 7: 7 means 7%. The higher the number the higher the concentration of the nutrient within the packet. The lower the number the less of each nutrient is in there. Chilli Focus is 3: 1: 4.4, so a relatively low concentration. Some specialist feeds will have higher numbers, for example TopRose Gold 12: 5: 10.
If you’re interested in the NPK value of pretty much any kind of organic item you could use as a fertilser then check out NPK of everything chart from The Nutrient Company. From apple leaves, to bat guano to leather scraps to insect frass. It’s all right there.
Talking of organic, some fertilisers are synthetic chemicals and others are derived from organic source. It is up to you which you choose. The natural route can be the slower route as organic compounds are somewhat larger and take time to break down and release the nutrients required. Organics can be homegrown, homemade and as natural as your own style of gardening. You are less likely to ‘burn’ your plants with a ‘hot’ mix of organics than synthetic versions of the same chemical. However, synthetics are quicker to act, good for exact measurements and excellent as a remedy for a growth issue.
If you opt for a super high strength feed, watch out. It would be tempting and easy to make a mix that is stronger than it should be, expecially with small quantities. Perhaps invest in a measuring jug or syringe?
Now we know what the NPK number is, how should we administer them?
Before you pump up the volume on the feed, think about…
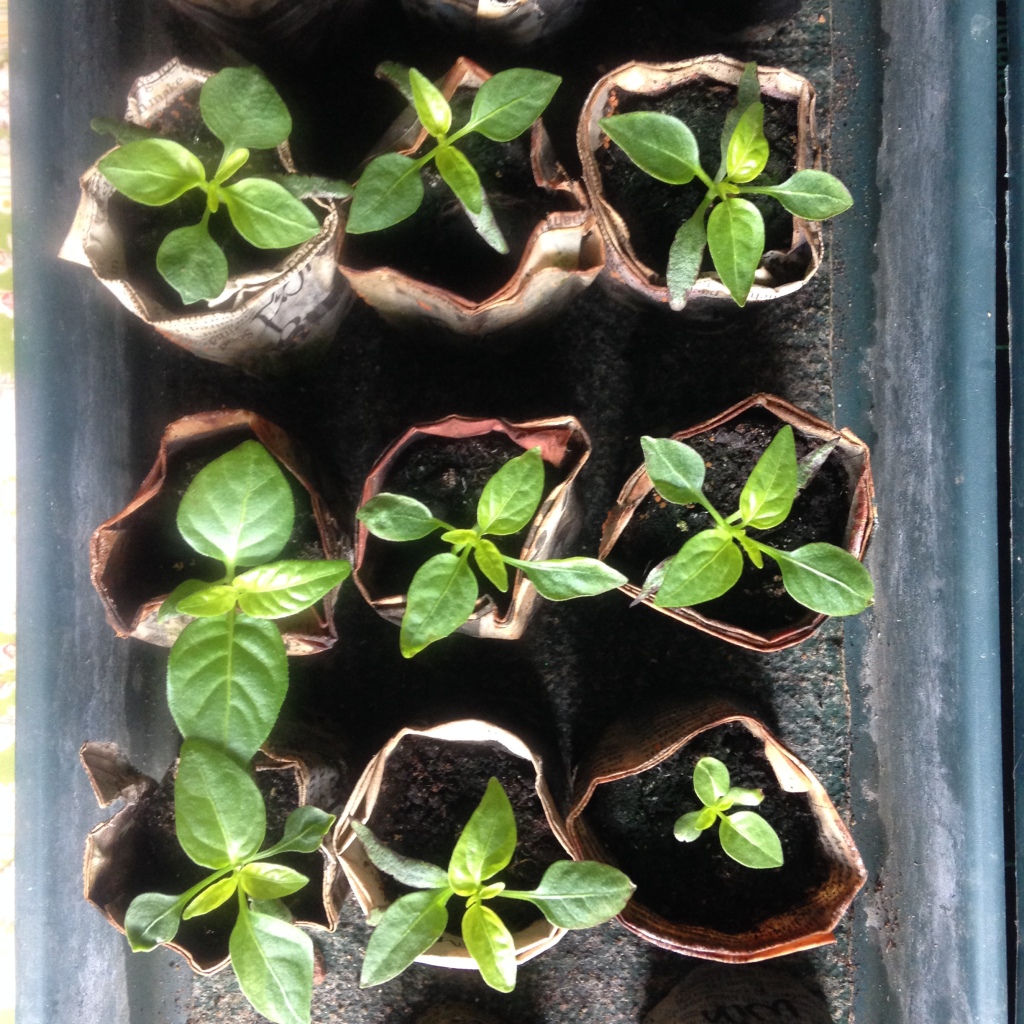
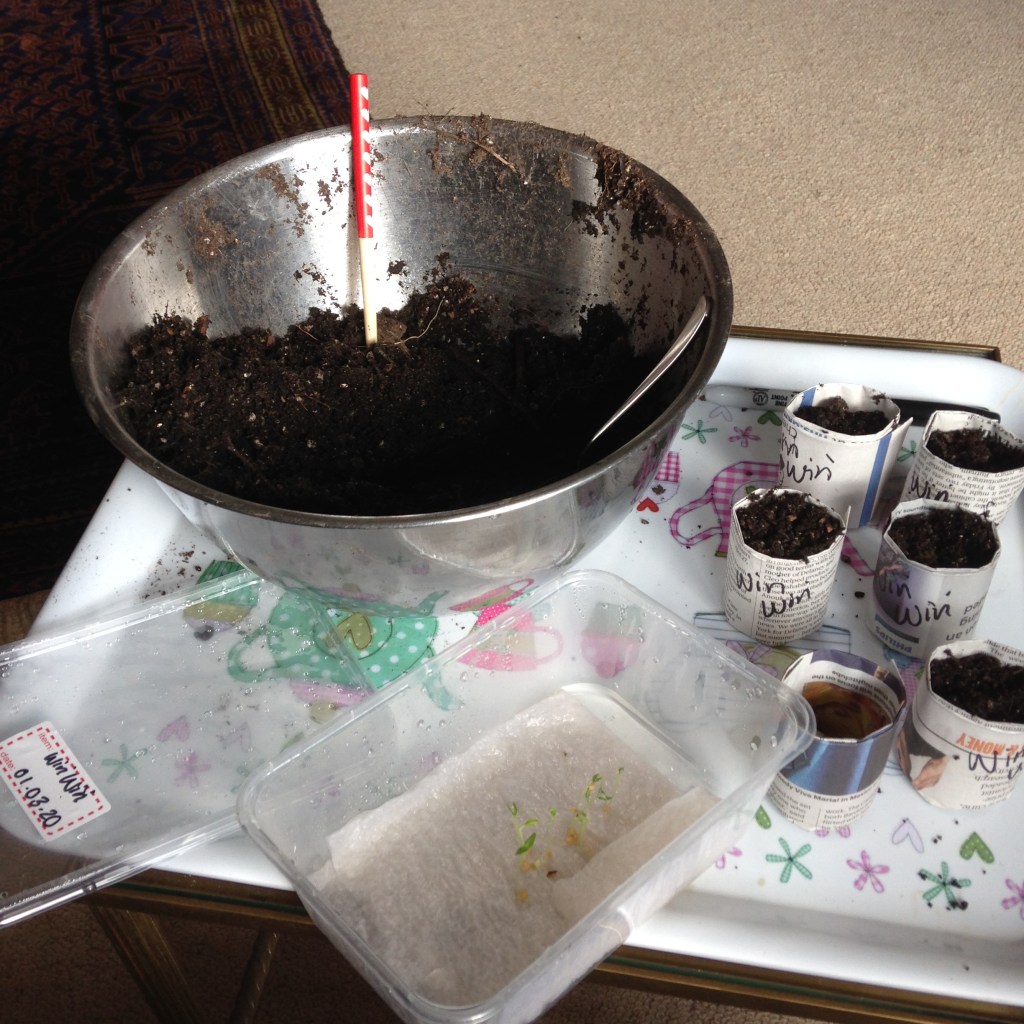
- Checking the nutritional value of your soil. Especially important with potted chilli plants. Soil choice will provide your plants with their first foods. Baby plants need baby food, a low nutrient soil mix and dilute levels of fertiliser (if any) will give the best results.
- Consider how long the existing soil nutrients will last before adding anything extra;
- Think about what the plant is up to, does it need a higher percentage of one nutrient for this particular point of growth? e.g. is it flowering?
Once you are clear on the above you can add feed via the soil, watering, top dressing or as a foliar feed.
Feeding through the soil…
If you decide to use a low nutrition compost mix then a handful of a general purpose feed could be for you. Gromore, that sort of thing.
Depending on the plant growth stage (e.g. is it in vegetative or bloom stage) this can dictate the type of additonal feed a plant needs. When the plants are seedlings it makes sense that they would need very dilute amounts of general goodness, perhaps with an added boost of nitrogen to really get the leaves going. A light soil mix, with a careful handful of chicken manure pellets thrown in could do this. Gently does it for the baby plants though (can we say this enough?) Chicken manure pellets have an NPK value of approximately 4: 2: 1. Again, better to be more dilute than overwhelm the little darlings.
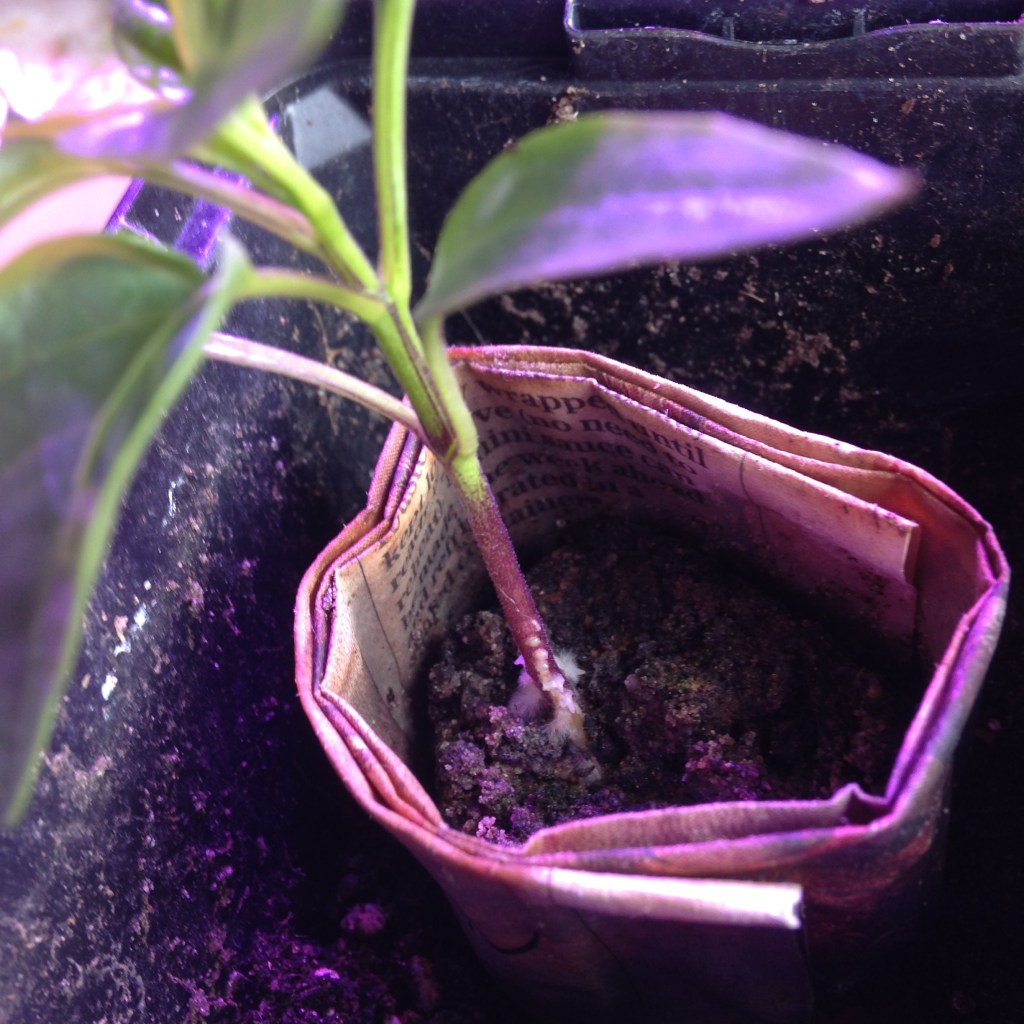
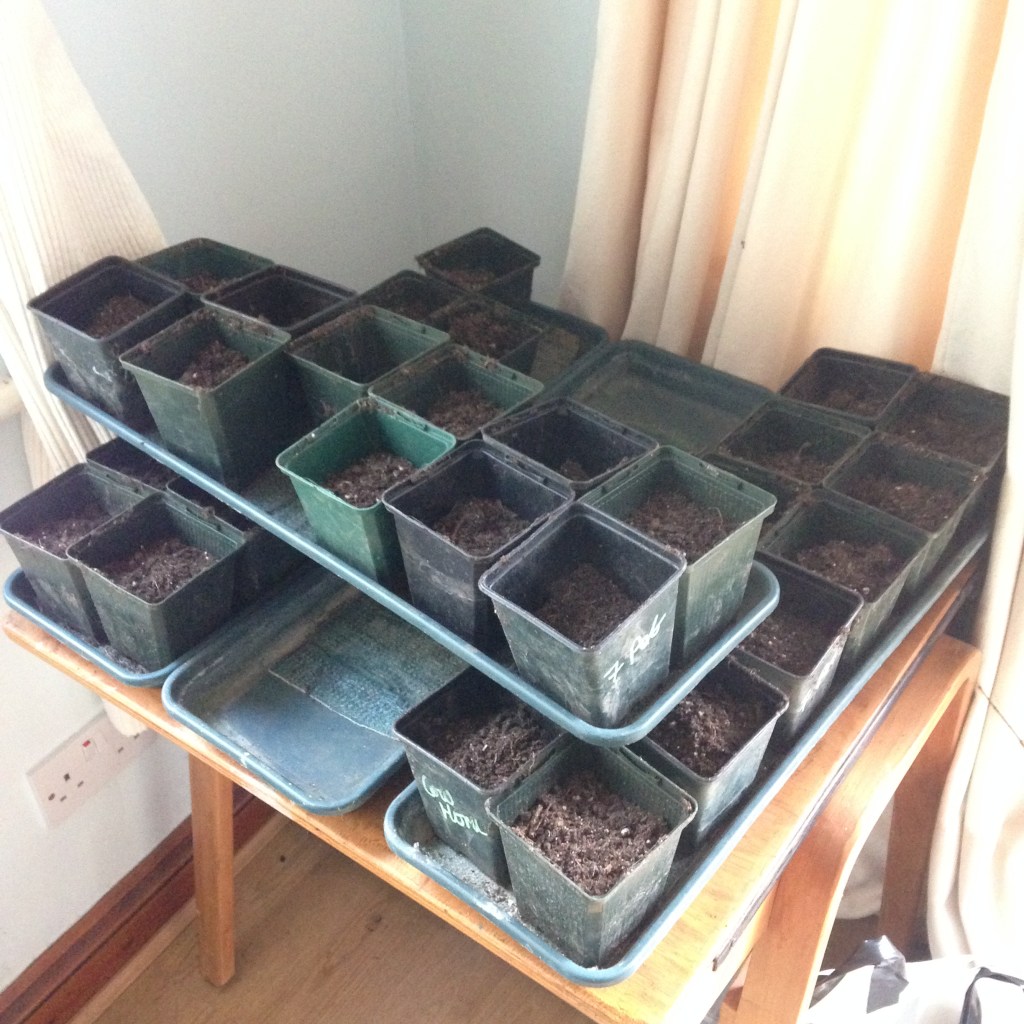
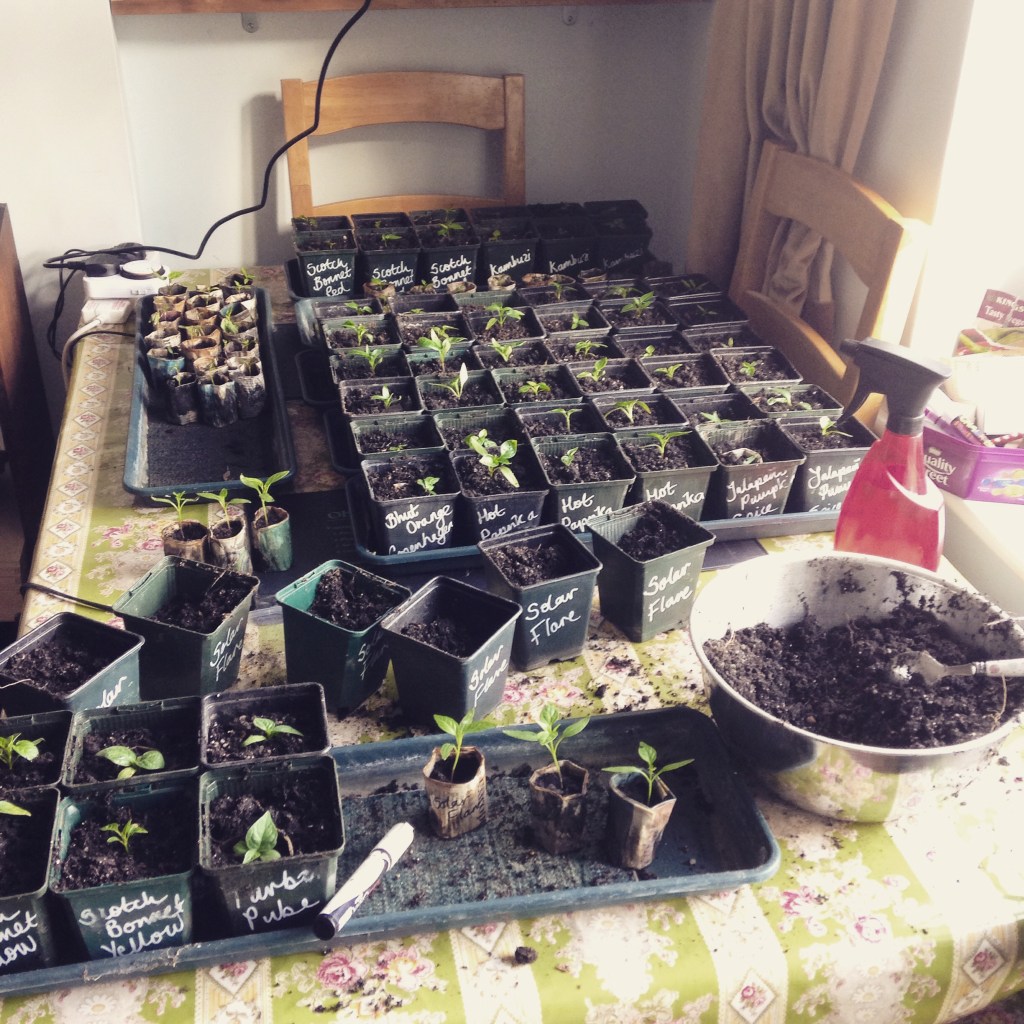
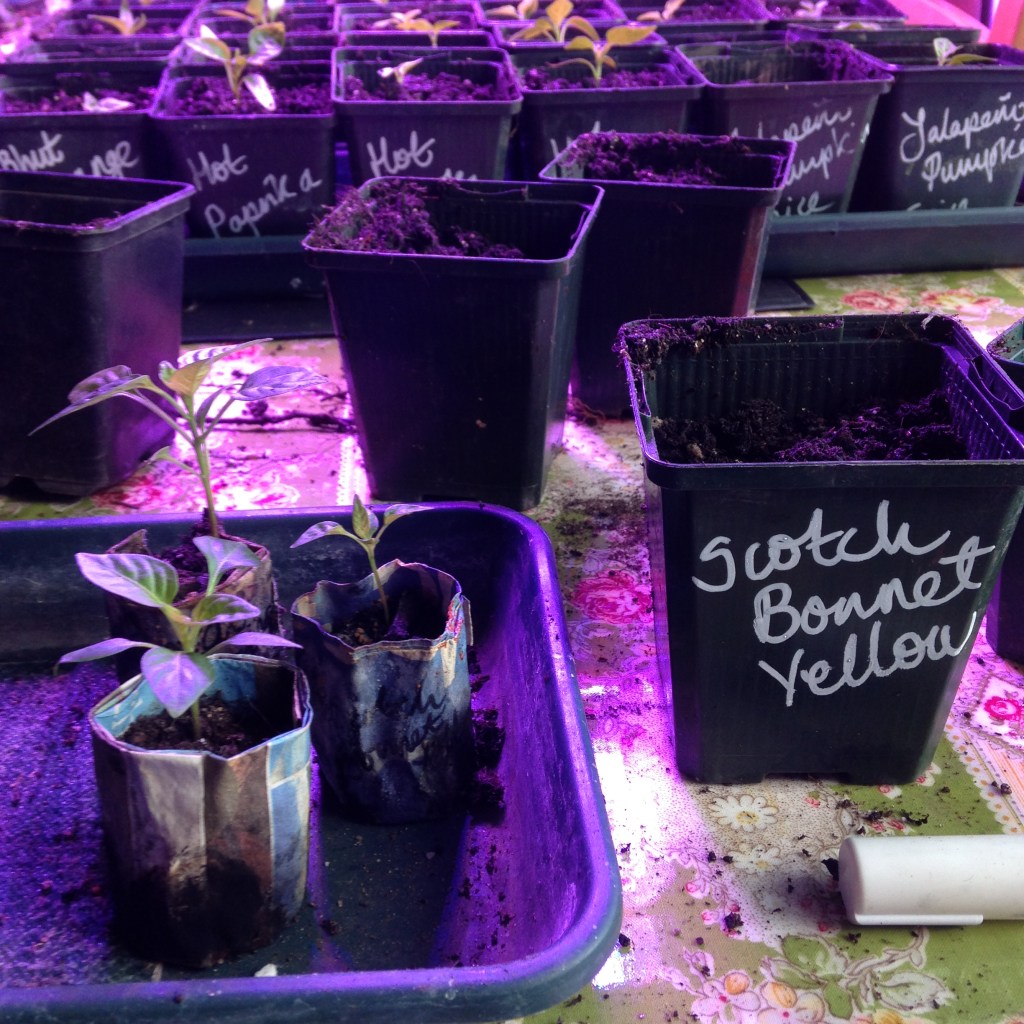
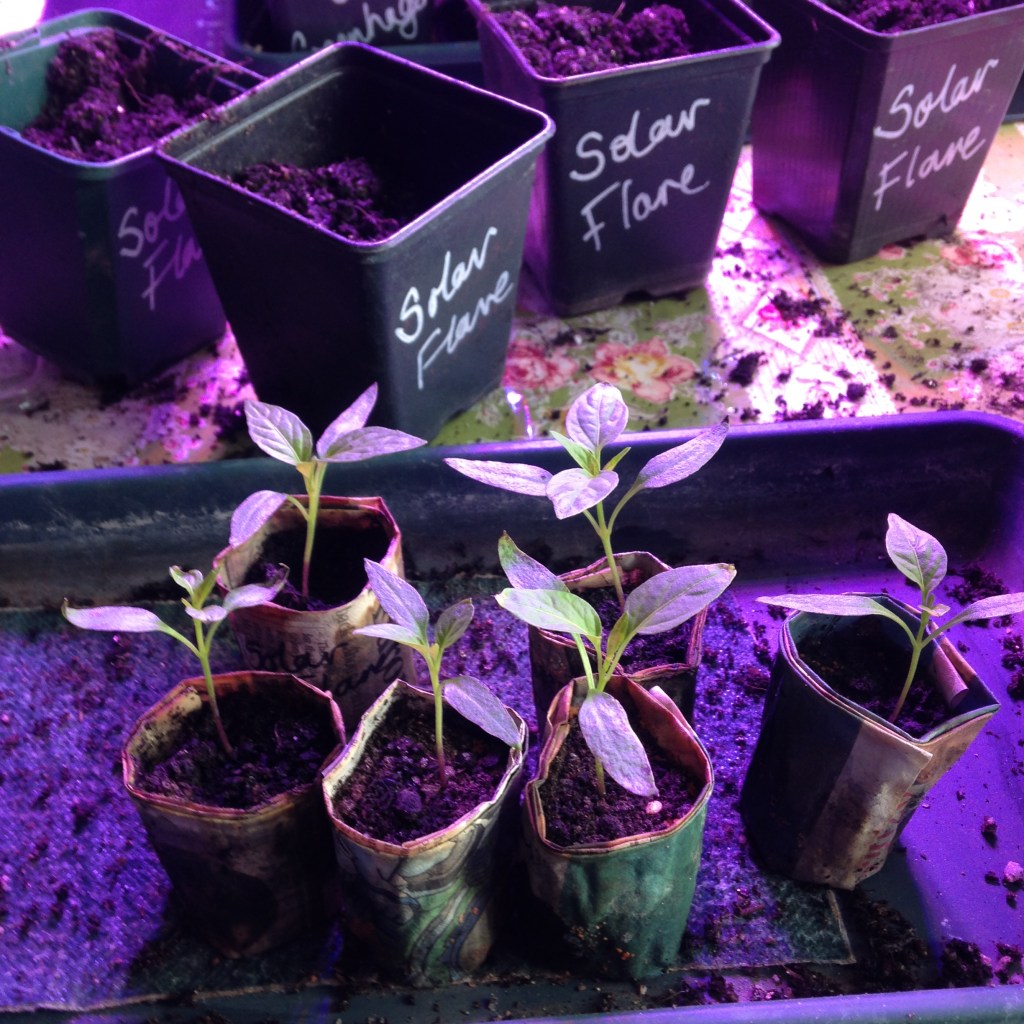
As the plants mature they continue to need feeding. The good thing about chillies is that they regularly need potting on. This gives you a chance to pop a little extra food (or none at all) in the mix if you feel they need perking up. Or to change the menu. A fish, blood & bone mix (5: 5: 6.5) could be useful with more mature plants. Remember that lots of compost bases (your own homegrown black gold, supermarket multipurpose, Jack Magic, John Inness Number whatever) all contain nutrition already so go easy on the added stuff.
Some growers stick with soil based feeding only but generally, soil additives will last six weeks or so, any longer and extra will be required. So, in their final growing medium it could become important to feed via other methods than mixing into the soil.
How else can we add nutrients?
Via watering, top dressing or a foliar spray.
We have been using Chilli Focus liquid feed (2.7: 0.4: 3.6) for the last few seasons. It is gentle (at the correct dilution); somewhat organic and has kelp for an all round boost.

Deep into the flowering & fruiting season, we still only feed about once a week, depending on the weather. We use a 10ml to 1L dilution for the feed, with water as needed in between. We always water and feed from the bottom unless flushing the soil through.
Too much feed will actually build up the nutrient salts to toxic levels in the soil. This could stunt growth, cause root burn or all manner of undesirable side effects. CAREFUL!
Eek! How do we stop salts building up in the soil?
Firstly, by adding less feed. On sunny days, the plant is working at full rate and doing everything it can to grow, flower and fruit. It is using the nutrients at the fastest pace then. A feed on a day like this is perfect. However, things slow down somewhat on cloudy days, especially earlier in the UK season when daylight hours are shorter. Ease up on the feed at these times, maybe less water too as everything is slower. Just feed tomorrow instead. Less feeding, less chance of salts building up.
Secondly, in the flowering season, it can be important to give plants a detox. Pick a super sunny day, where photosynthesis and transpiration rates are high and ‘top water’ the pots. Use a sprinkle setting on your hose, or a rose on the watering can and gently allow the water to trickle through from the top of the soil and run out of the holes in the bottom. This will collect and dissolve any nutrient salts that have built up earlier in the season, redistribute them into the soil and the plant can then resue them. Do not feed directly after this!
Err, just a sec, back to kelp…what is that good for?
It’s a wonderstuff. No, really.
Alys Fowler explains the benefits of a seaweed feed. And James Carr writing on Fine Gardening tells you all about the chemical composition of the average seaweed feed ‘A. nodosum contains at least 60 elements, including many of those known to be essential for terrestrial plants: nitrogen (N), phosphorus (P), and potassium (K), boron, calcium, copper, iron, magnesium, molybdenum, sulfur, and zinc.’
We like seaweed for its natural, gentle and all-round boost it can give our plants. We’d love to have a go at collecting, using and refining a seaweed mulch and feed ourselves but we’re not quite ready to go there yet. One day.
Foliar application of nutrients
A foliar spray can be used to apply certain nutritional boosts. Dilute seaweed extract can be applied this way. As can dissolved Epsom salts. Epsom salts are Magnesium Sulphate and are used 1tsp dissolved per litre to boost the ‘green’ in leaves.
Even Chilli Focus can be applied as a foliar spray as plants can absorb a large percentage of required nutrients into their structure via their leaves & stems. This is especially helpful in areas that have high pH soil and chillies are planted in open ground. High pH can limit the uptake of nutrients. However, for the general chillihead hobby grower, foliar sprays tend to be kept for remedies rather than general feeds.
A few words of caution for foliar feeding:
- Timing and temperature Don’t cover your plants with a foliar feed in full, bright, hot sunlight, you’ll surely burn them as the droplets turn to lenses and maginify the sun’s rays. Ouch! Keep it to morning or evening (when stomata are fully open) and when the temperatures are under 27 degrees. Fast evaporation of water in full midday sun could also leave nutrient salts exposed on the leaf and ‘burn’ the plant chemically. Double ouch!
- Humidity Spraying increases humidity. Super high humidity could tip your chilli plants into the danger zone. They might not be able to cool themselves effectively. Plant cooling down happens by transpiration: opening of the stomata (pores) on the leaves and allowing water out into the environment. If the surrounding air is very humid (nearly full of water already) this process cannot happen properly. Plants will overheat. Hardly the effect you are intending when applying a foliar feed or remedy.
- Concentration Make sure the spray is a high concentration. This seems to go against everything we have been saying about low levels of feed but this is different. A spray that contains a lower concentration of the nutrients than found in the actual plant could end up drawing out the plants’ own nutrients…from the higher concentration to the lower. This is obviously not what you want to happen.
- Spray size. The finest possible mist setting is the best one. You want to coat the leaves but not form large droplets. The finer the mist the quicker and more effective the absorbtion of the nutrients.
Leaf Health
Leaves are a wonderful indicator of health in chilli plants. A regular leaf check will give you an insight into what is going on. Take your time though. You might end up creating an unecessary secondary issue if you misdiagnose. For example: one sees cluster of crinkled new growth on one’s Scotch Bonnet. One might be tempted to grab a Cal-Mag spray and apply. Whilst this could be signs of a calcium definiciency it is just as likely be overwatering or a hidden colony of aphids. Take a day or so to diagnose before rushing in with extra nutrients. You could be the cause of an imbalance, rather than a knight in shining armour.

So NP & K are not the only tools in the kit then?
Nope, meet a few more of the team…
Magnesium- Chlorophyll could not do its crazy chemistry without the prescence of Magnesium. Cell division, protein production, enzyme activation and respiration all happen smoothly because Magnesium is there. As is the uptake, transportation and metabolisim of Phosphorus.
Calcium- cell walls just aren’t the same without the correct levels of calcium. It literally holds them together. Low Calcium can cause serious issues in every area of the plant: crinkled and distorted new leaves and buds; older leaves wilt much quicker and fruit is likely to get ‘blossom end rot’.
Sulphur – essential in the formation of chlorophyll (yes that old chestnut) It is a component of an enzyme involved in nitrogen uptake. Low sulphur = low nitrogen, even if it is available. It can be hard to tell a sulphur deficiency from a nitrogen one.
There are many more micro nutrients required for super plant fuction. Look for a feed that contains a good few of them to support your plants.
And finally, a quick word about…top dressing
It is unusual to top dress in pot grown plants, as chillies often are, but it can be handy to apply a general feed this way for chillies growing in open ground. Natural rain and watering from the top can cause nutrients to leach away from the plant quicker than in pot grown plants. Apply a granular feed around the base of the plant and water in thoroughly to disperse the fertiliser evenly. A good shower prevents burn from concentrated chemical fertilser on the leaves neat the soil surface or roots near the top. As always, do not be tempted to put extra grains of fertilser down.
A few of the symptoms of fertiliser burn can be found in this Gardening Know How article.
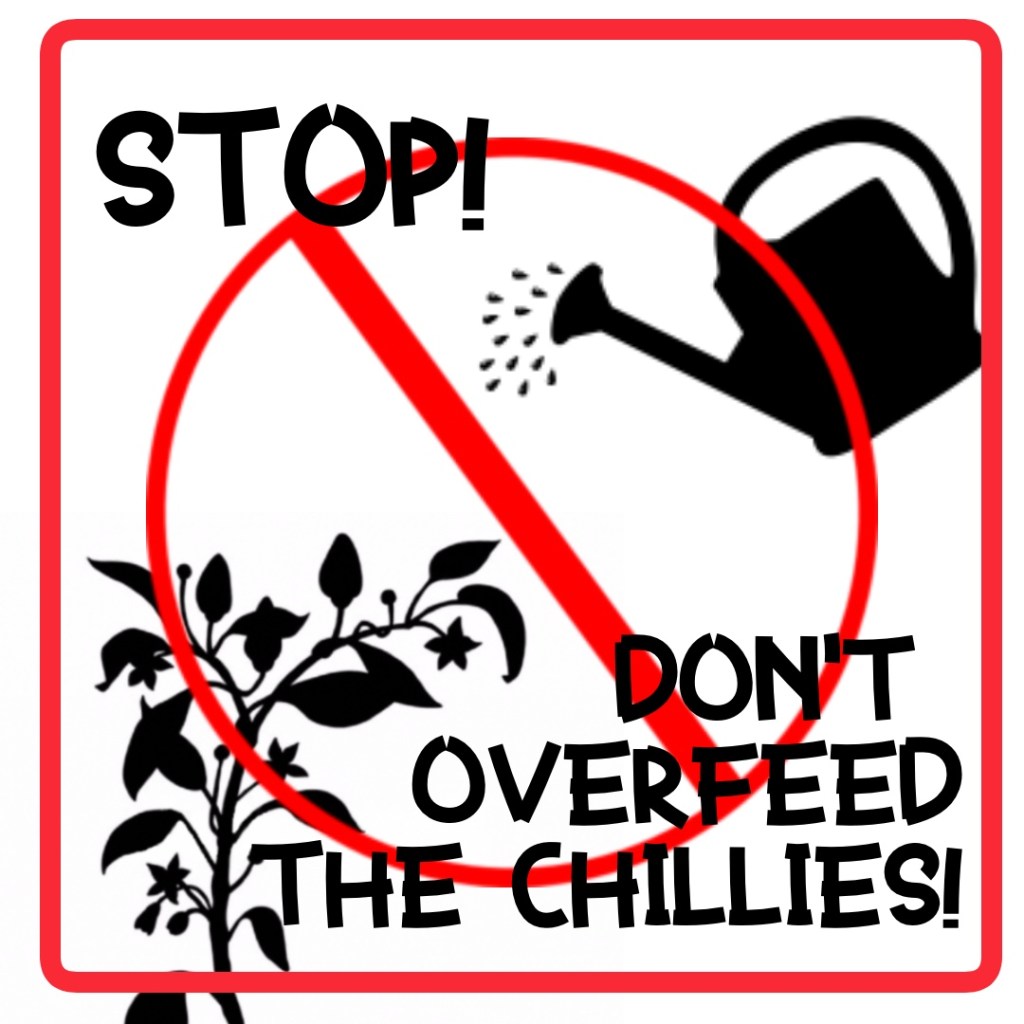
In conclusion YES, you can overfeed your chilli plants. Try not to.
It’s tempting to go nuts with plant food in the hope that more feed equals more chillies. But STOP, and consider whether your plants need that extra food, it might do more harm than good.