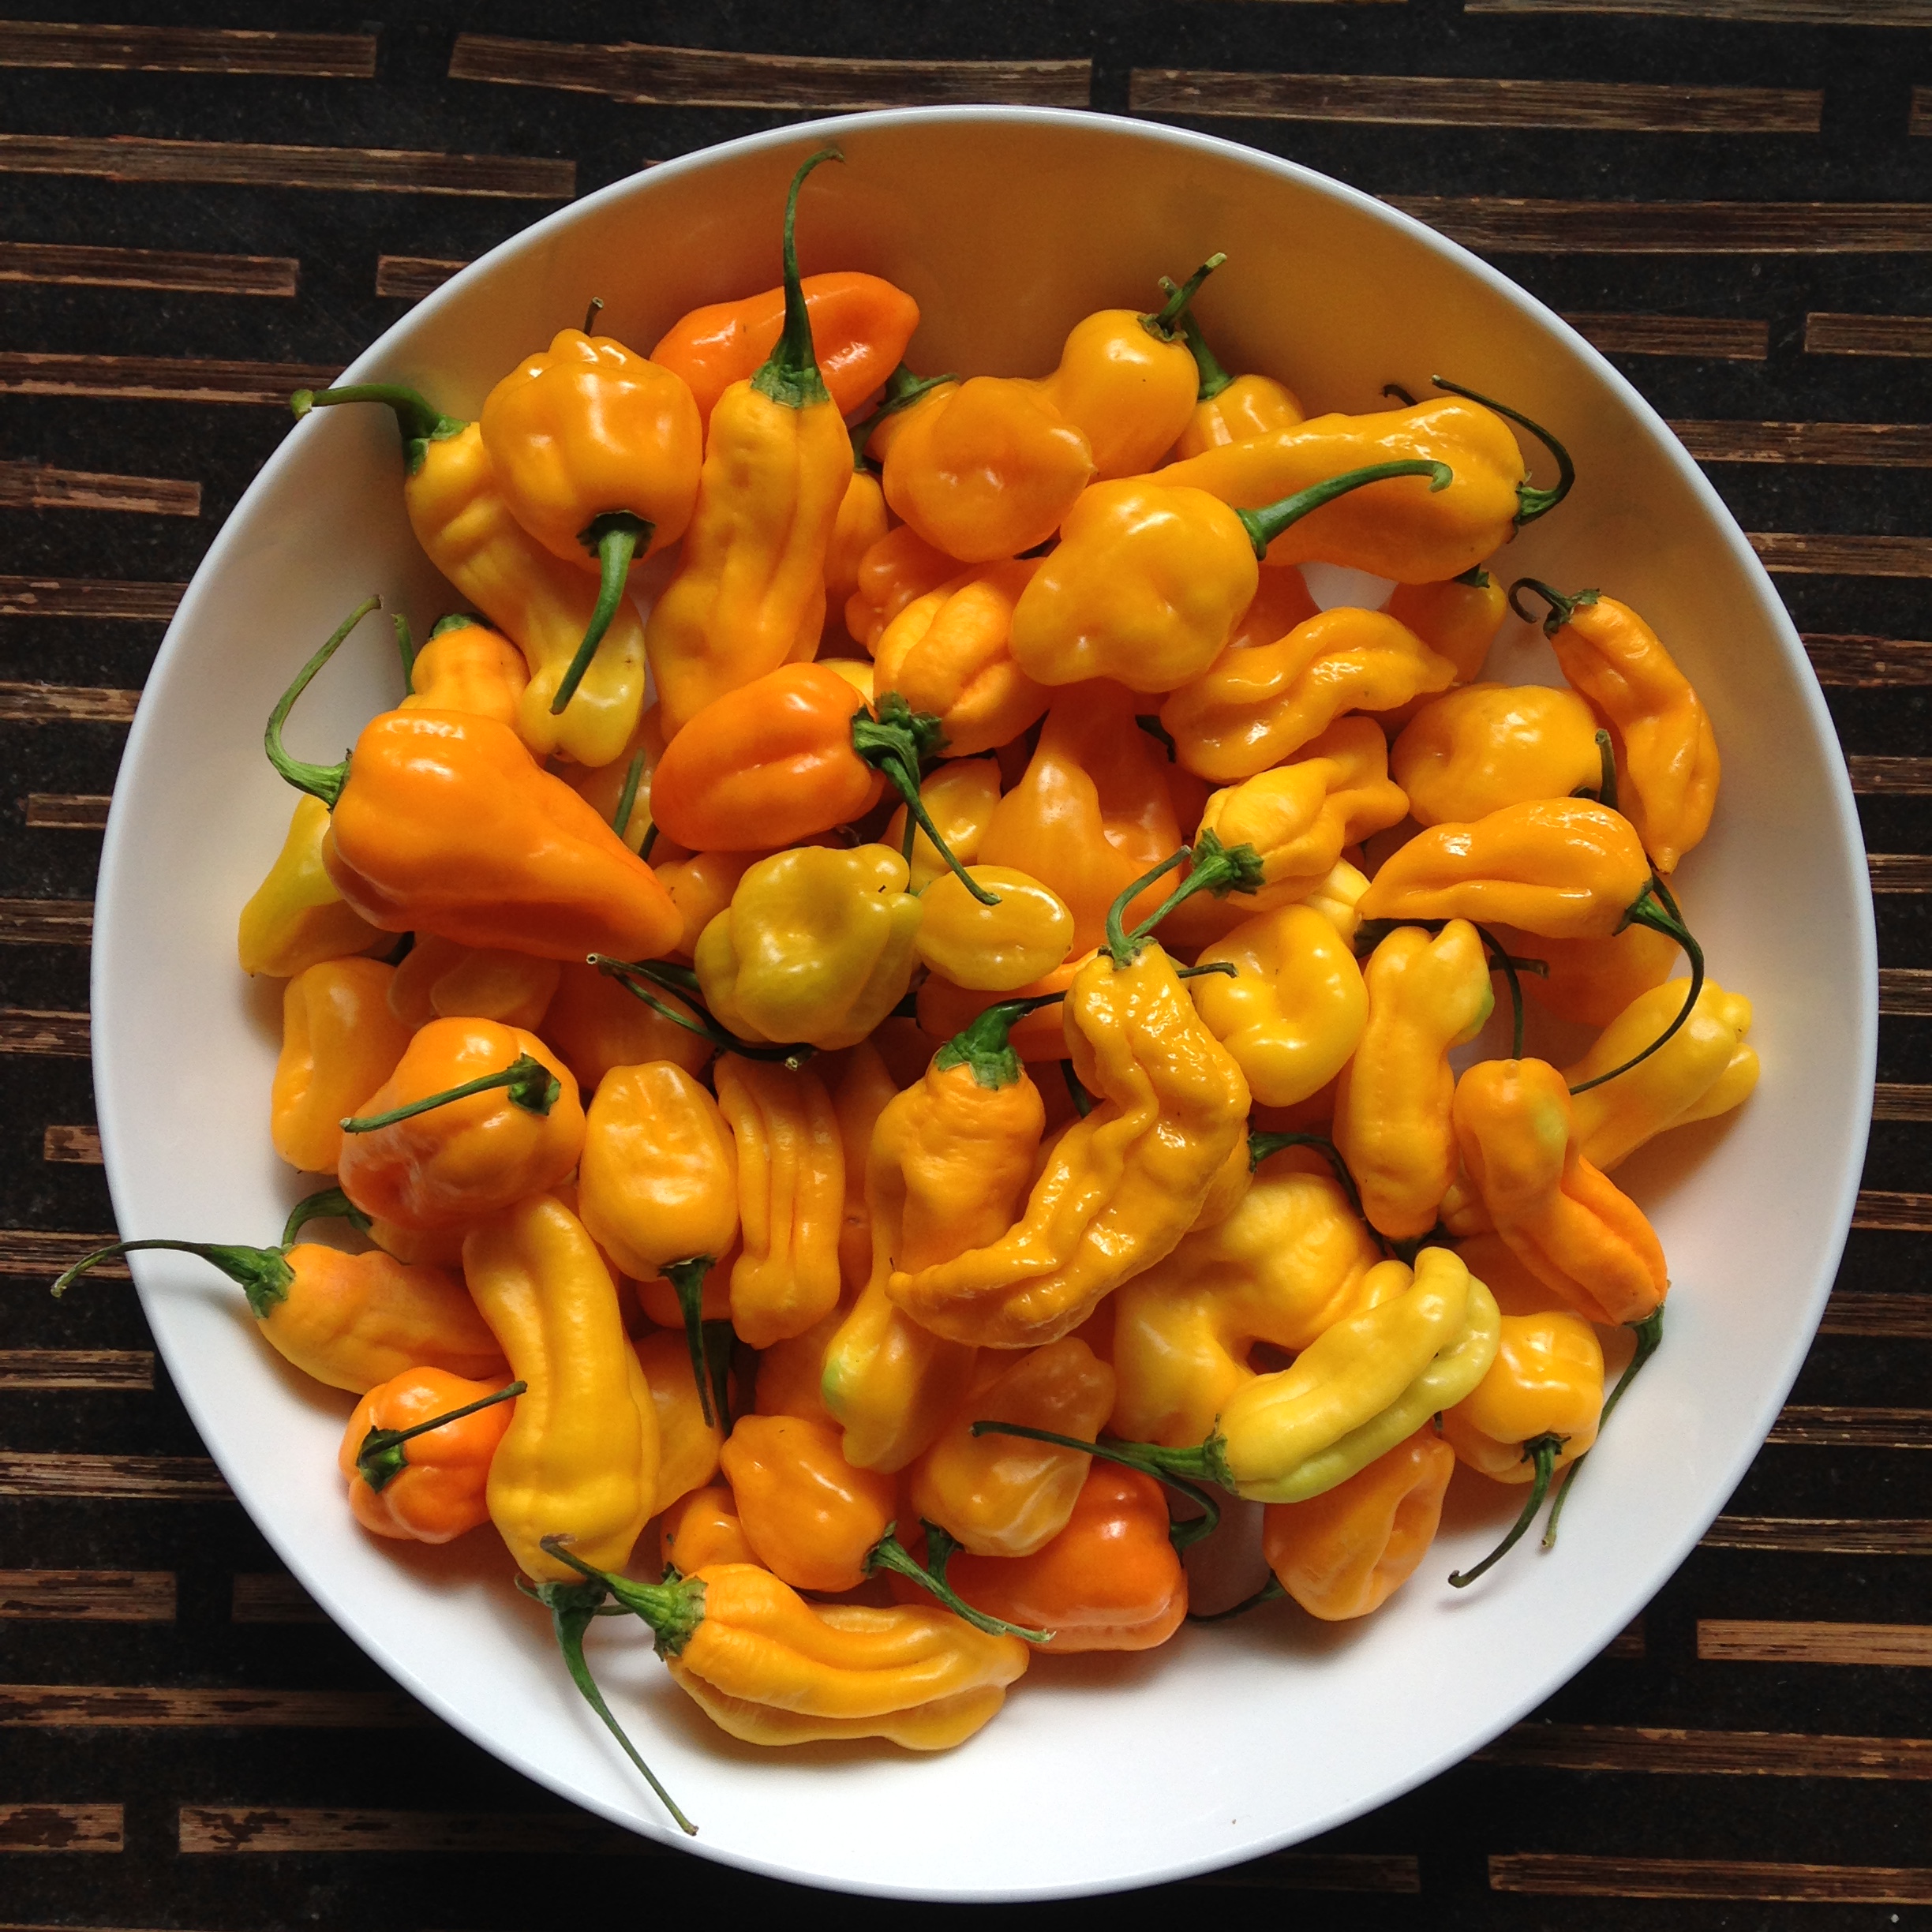
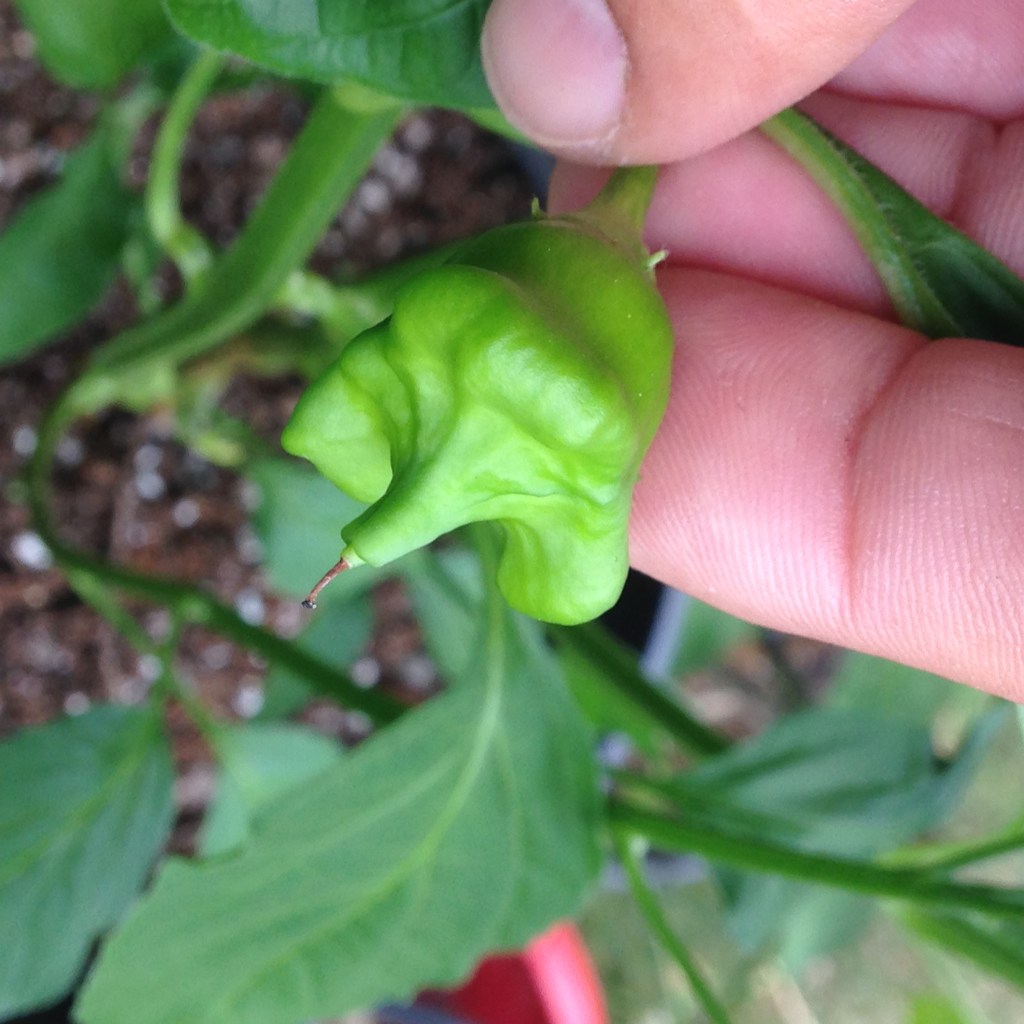
This is not our first year growing chillies. Over the years we have developed a number of tricks that make things more certain for us. Here are our top ten tips:
- Start as early as you dare;
- Soak the seeds in black tea;
- Chit the seeds on damp kitchen roll before planting;
- Warm the seeds as they are chitting;
- Use biodegradable pots for the first planting;
- Prepare the seed compost and pots ready to receive the germinated seeds;
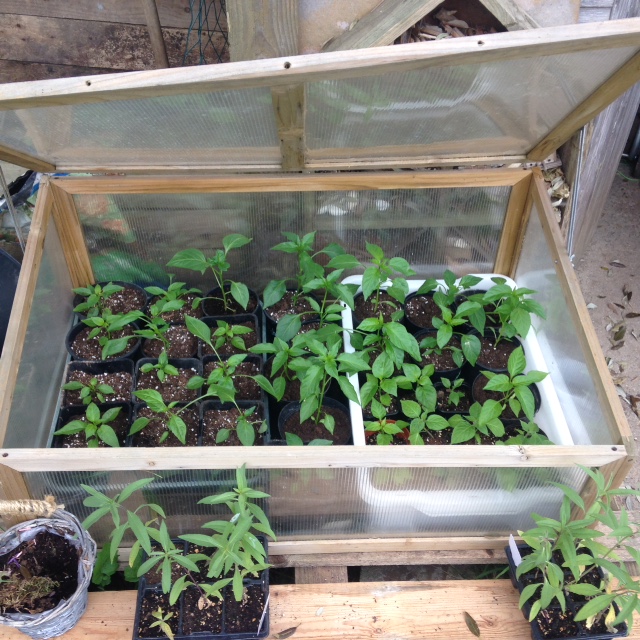
- Keeps pots on a tray with capillary matting;
- Warm water from the base;
- Weak solution of feed from second week;
- Allow as much all round light as possible.
1. When to start germinating?
A real UK chillihead will start in December..no, November…perhaps late October? Hmm, when should we start the UK chilli season? It is really up to you. Seed packets state that February is a good time to sow. Many chilli growers will go for it just before Christmas. For us, it is a lovely way to start the New Year. Ordering seeds, waiting for them to arrive and getting the equipment ready is a tonic for the soul in the dark, wet month of January. And, at the Birdhouse, unless you want glitter as a soil addition it is best to avoid combining Christmas chaos and chilli seedlings.
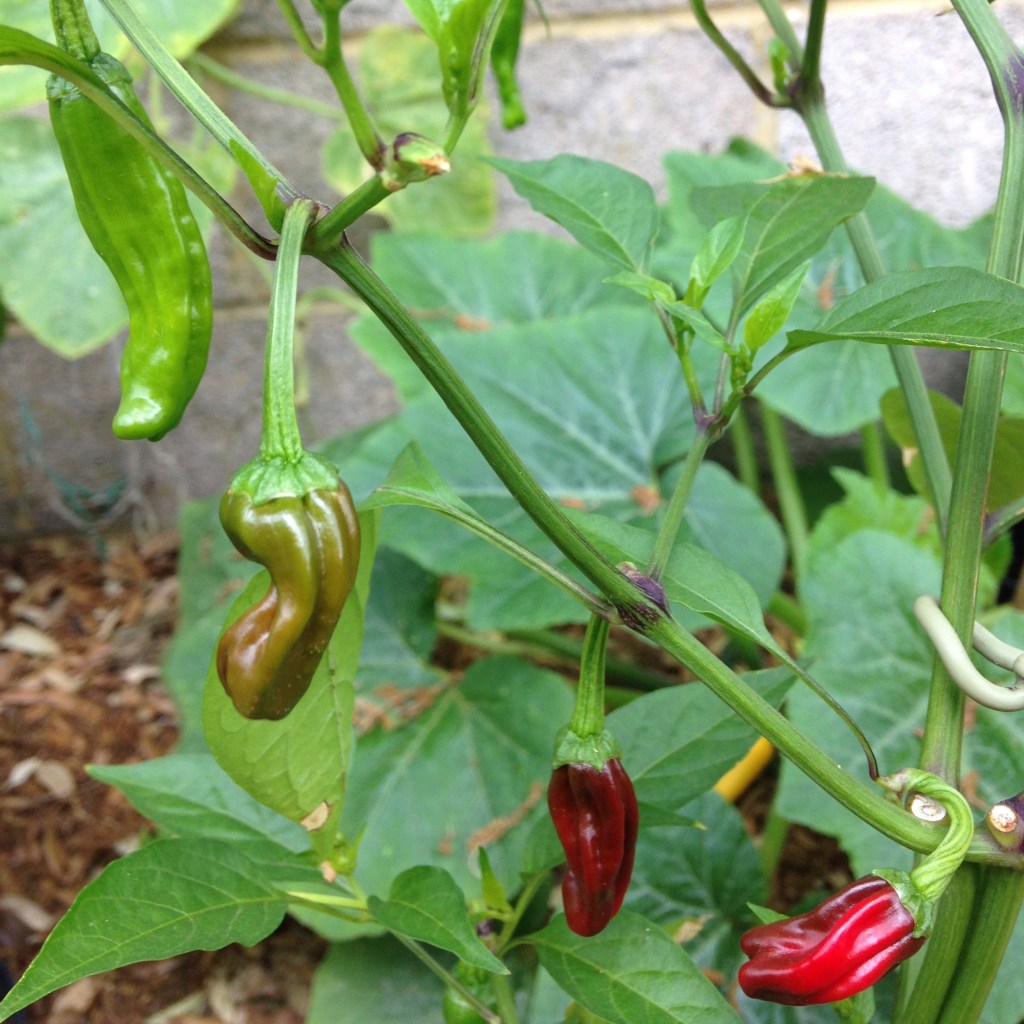
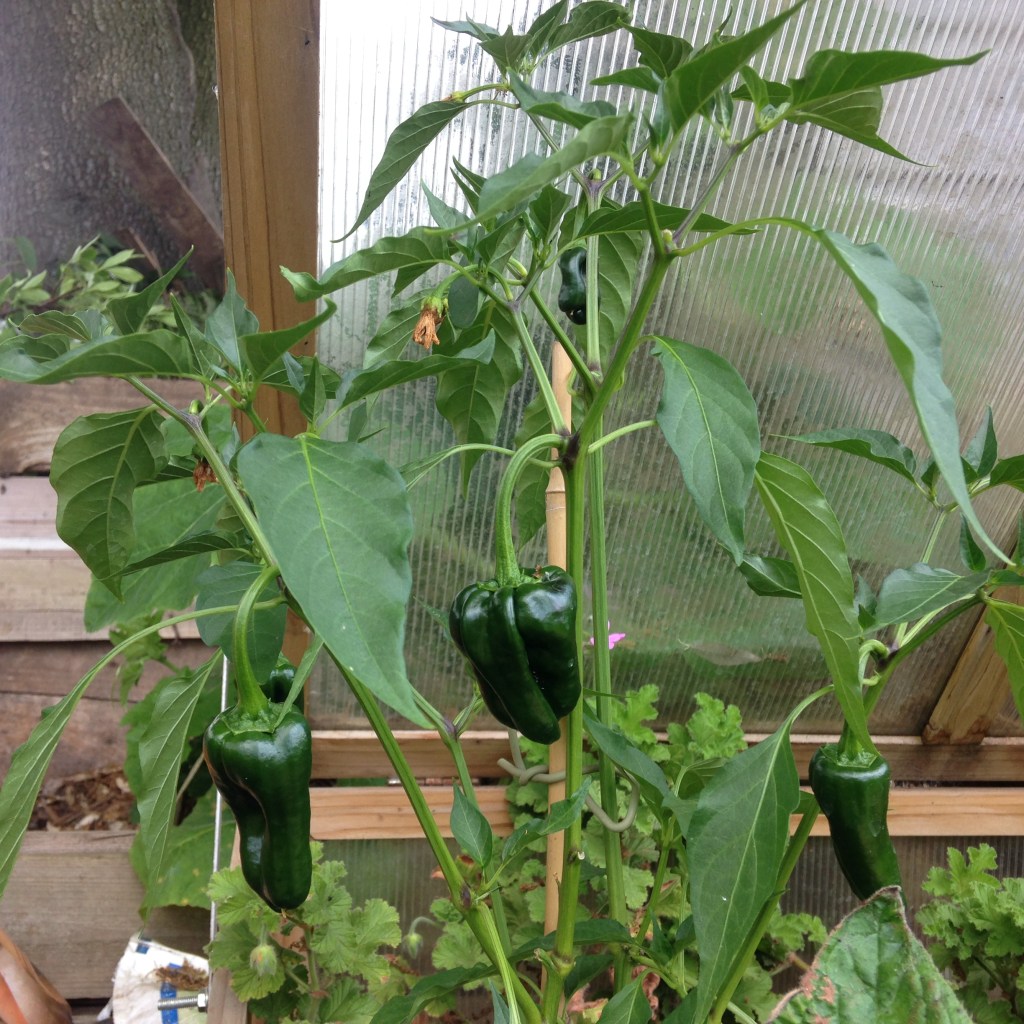
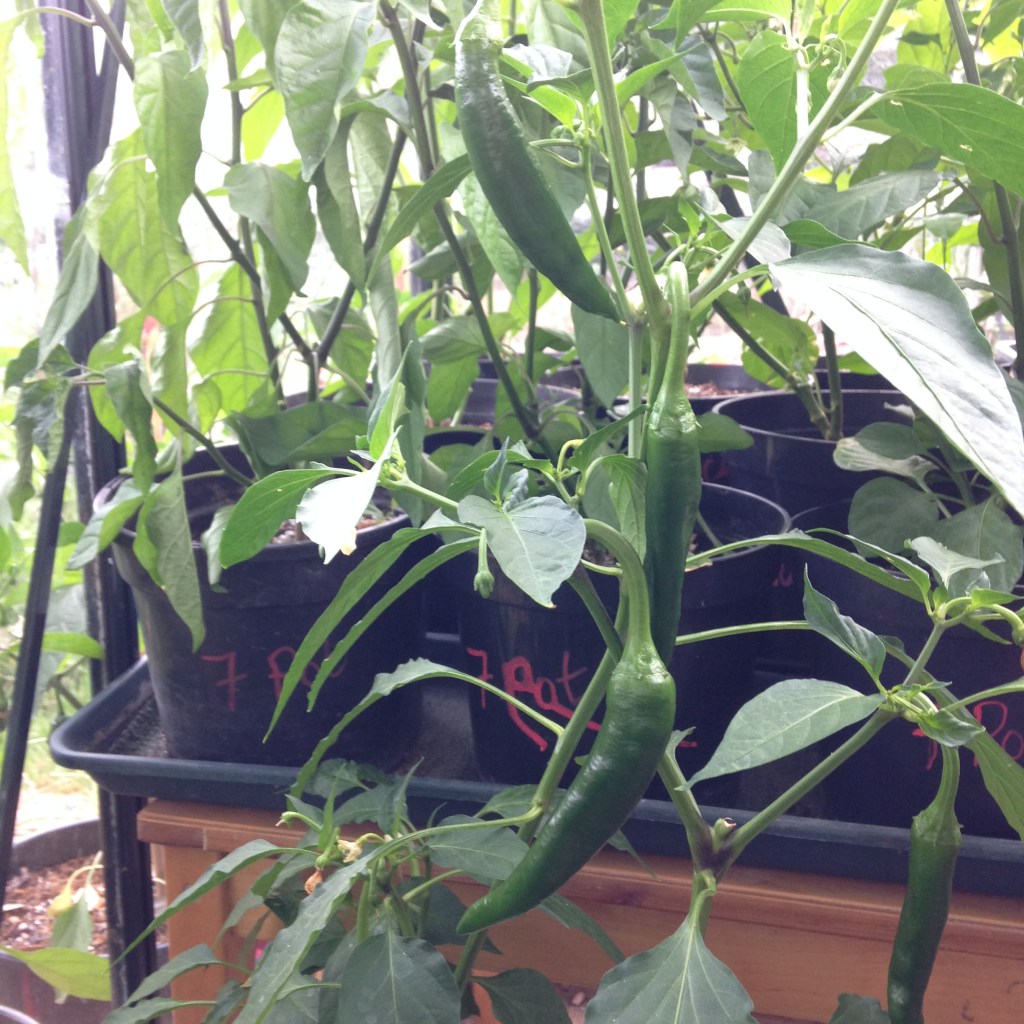
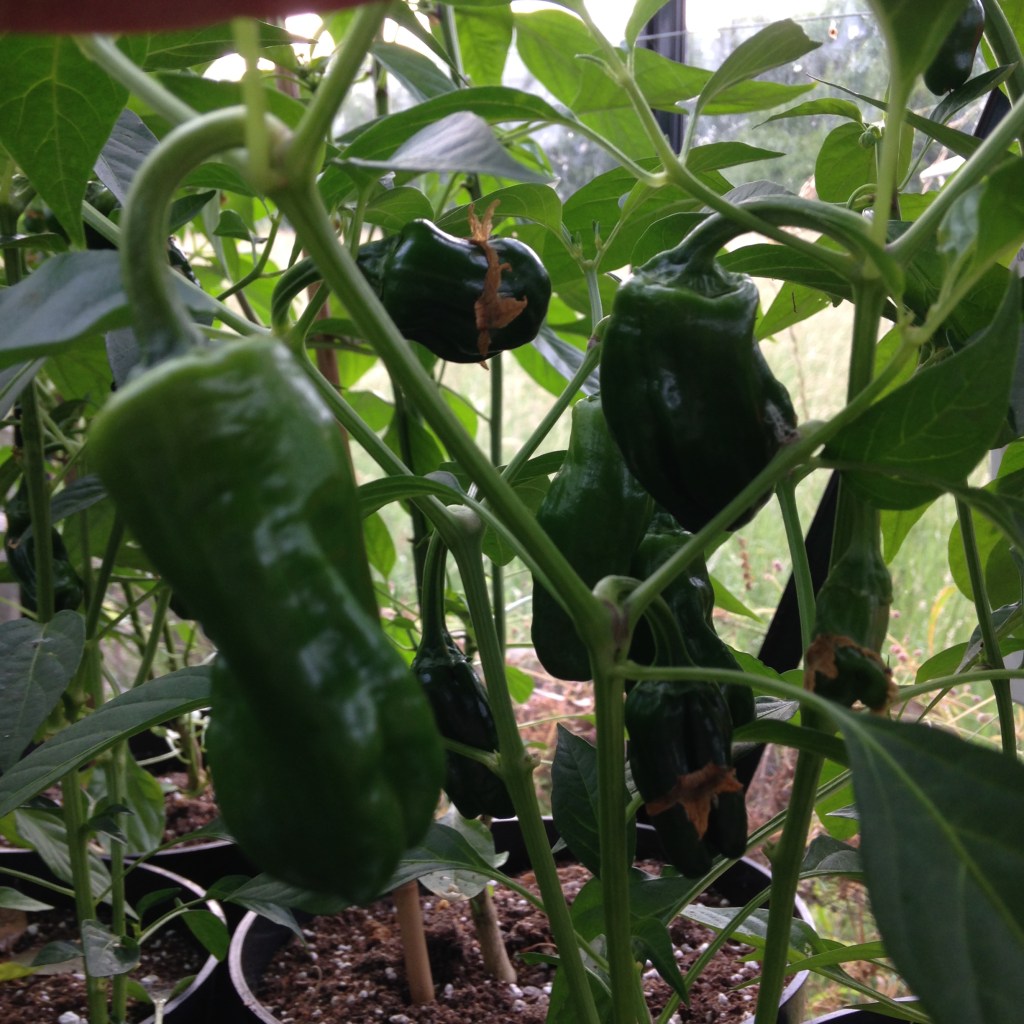
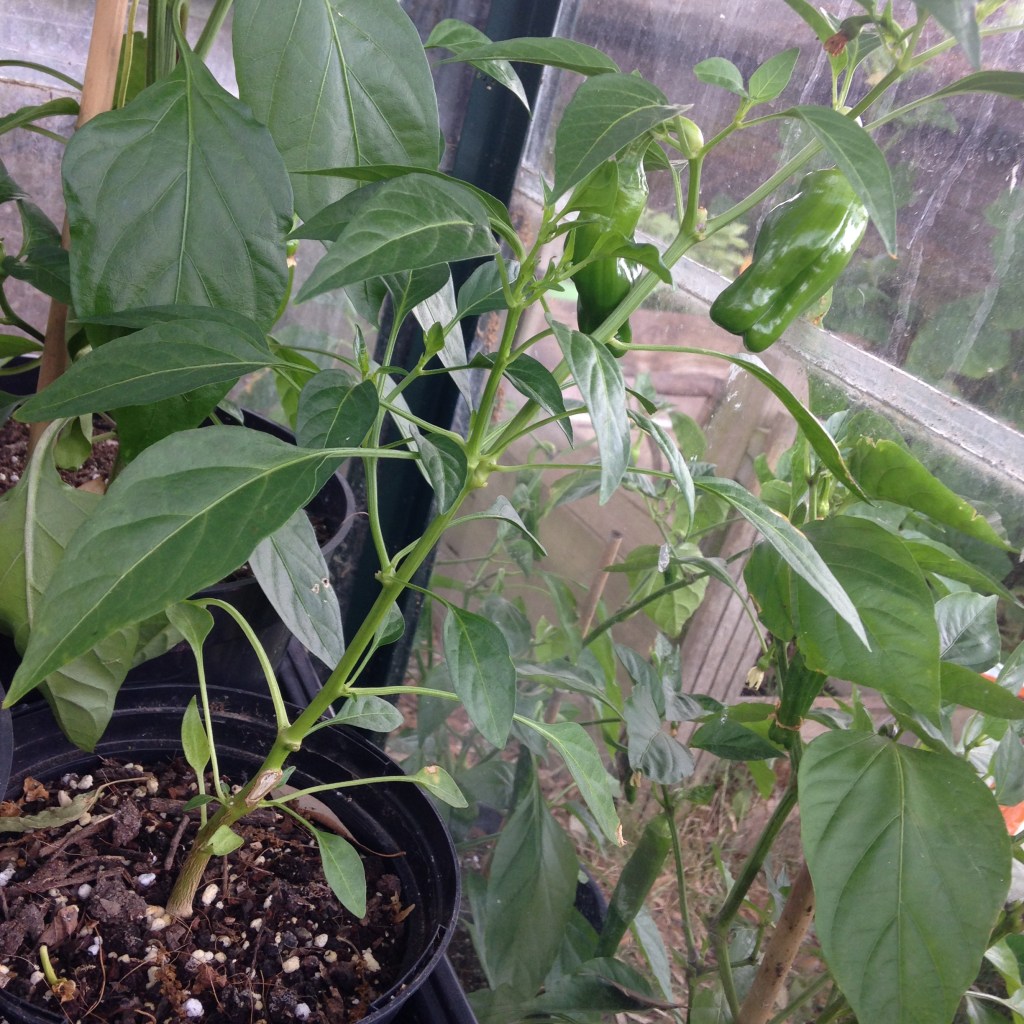
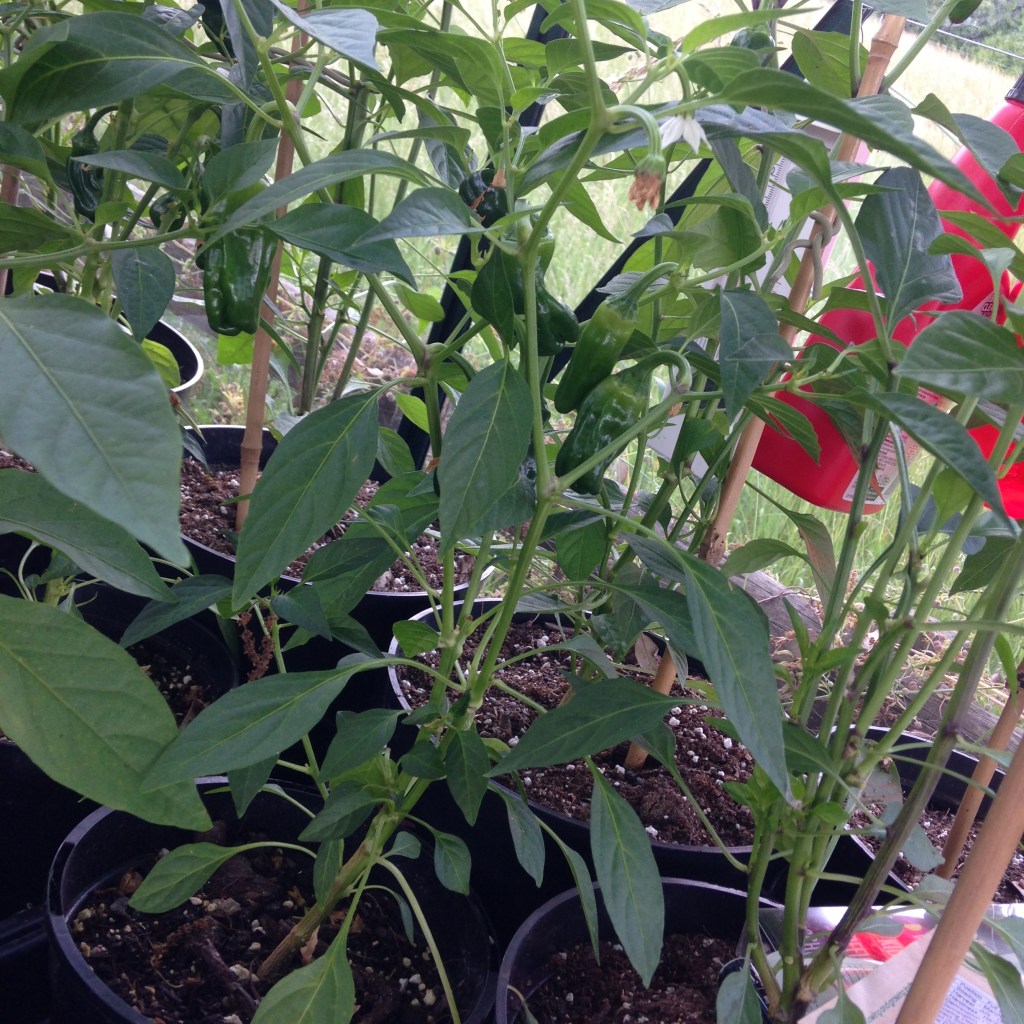
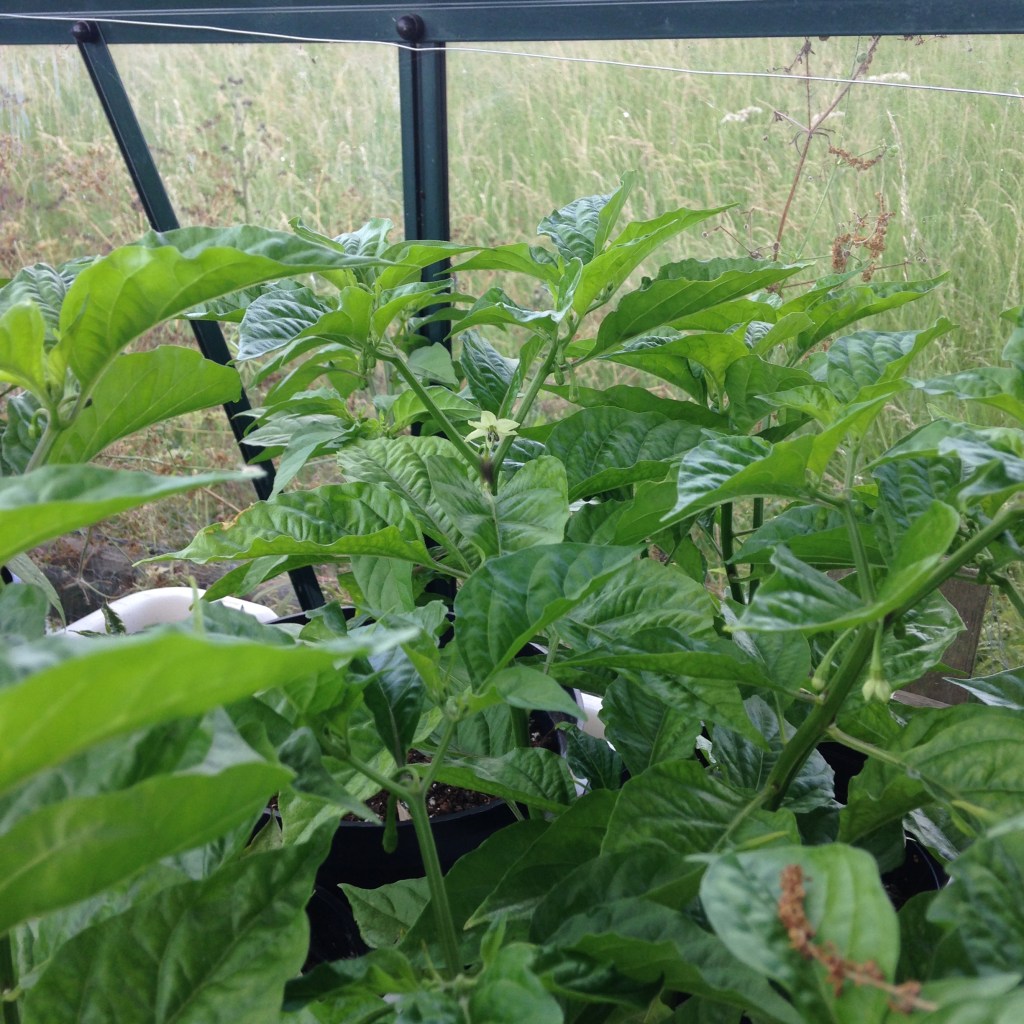
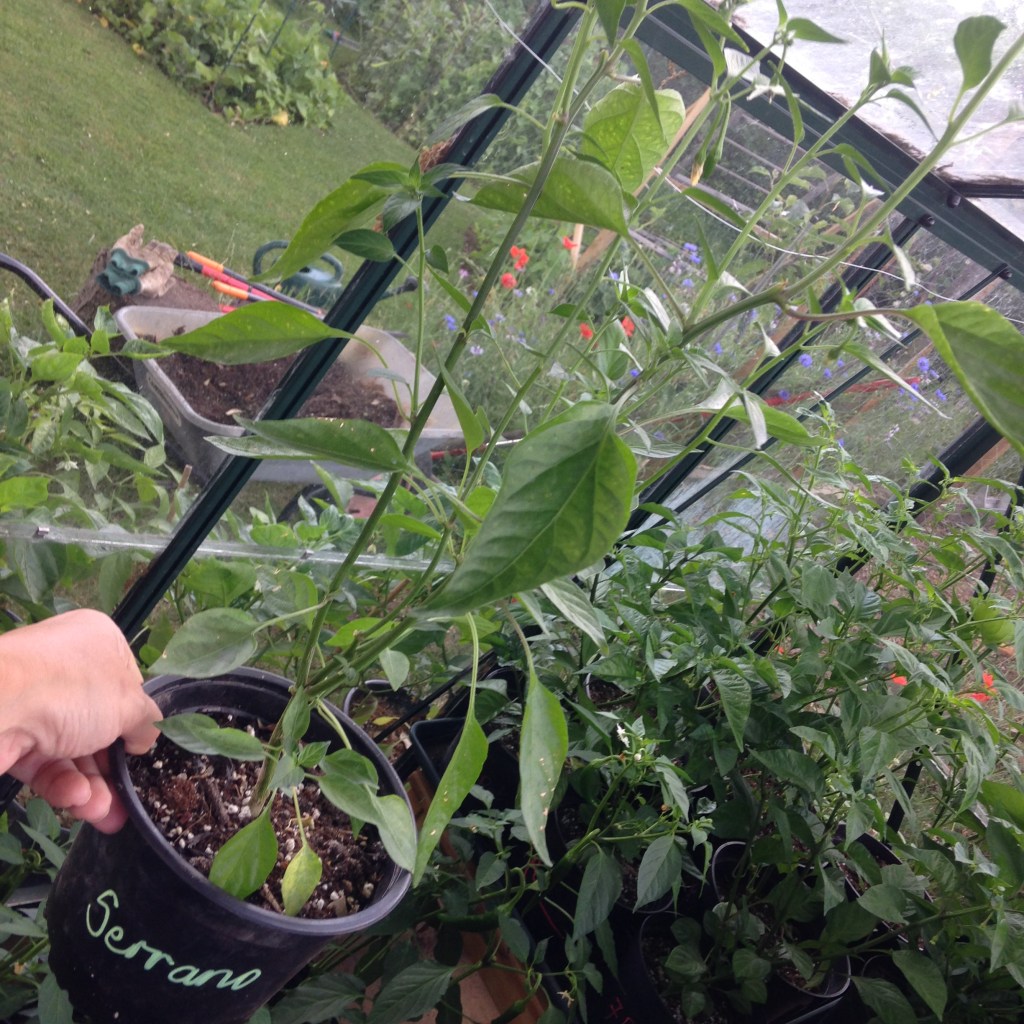
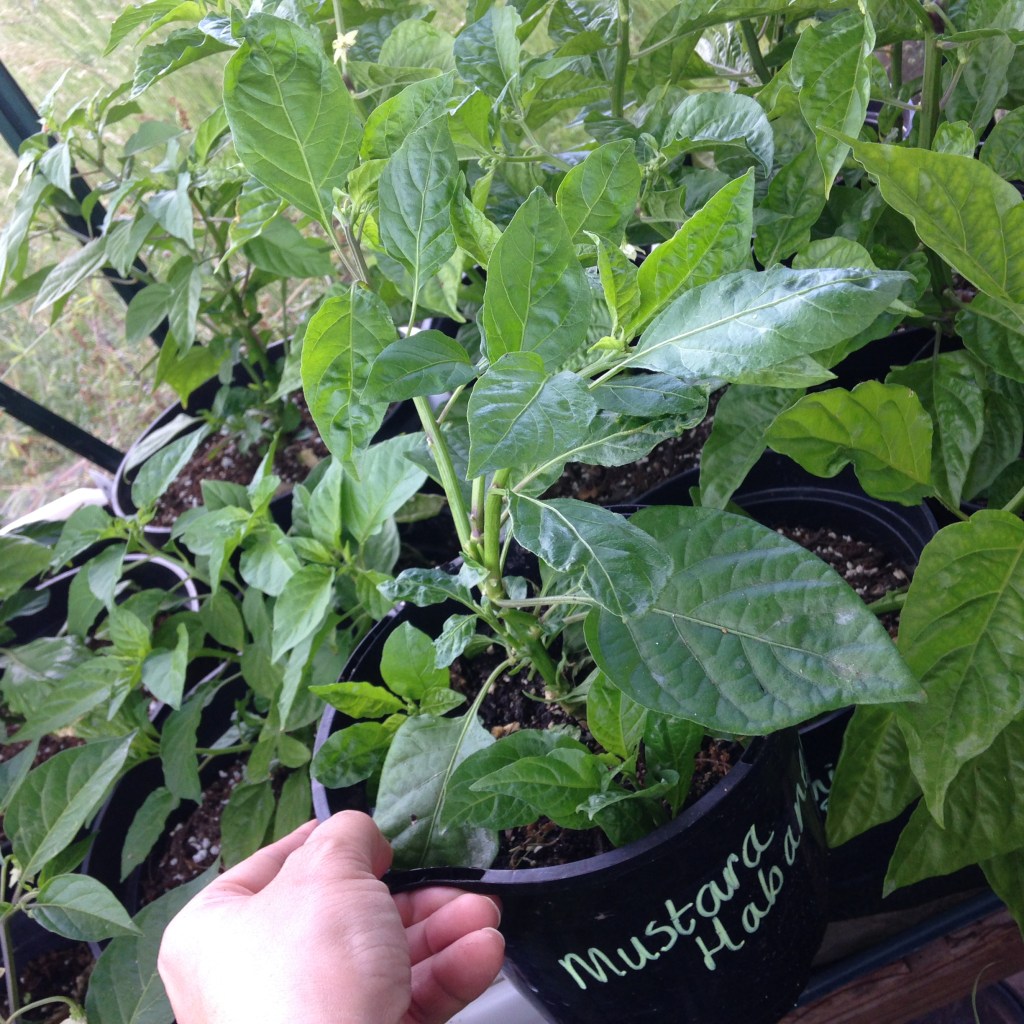
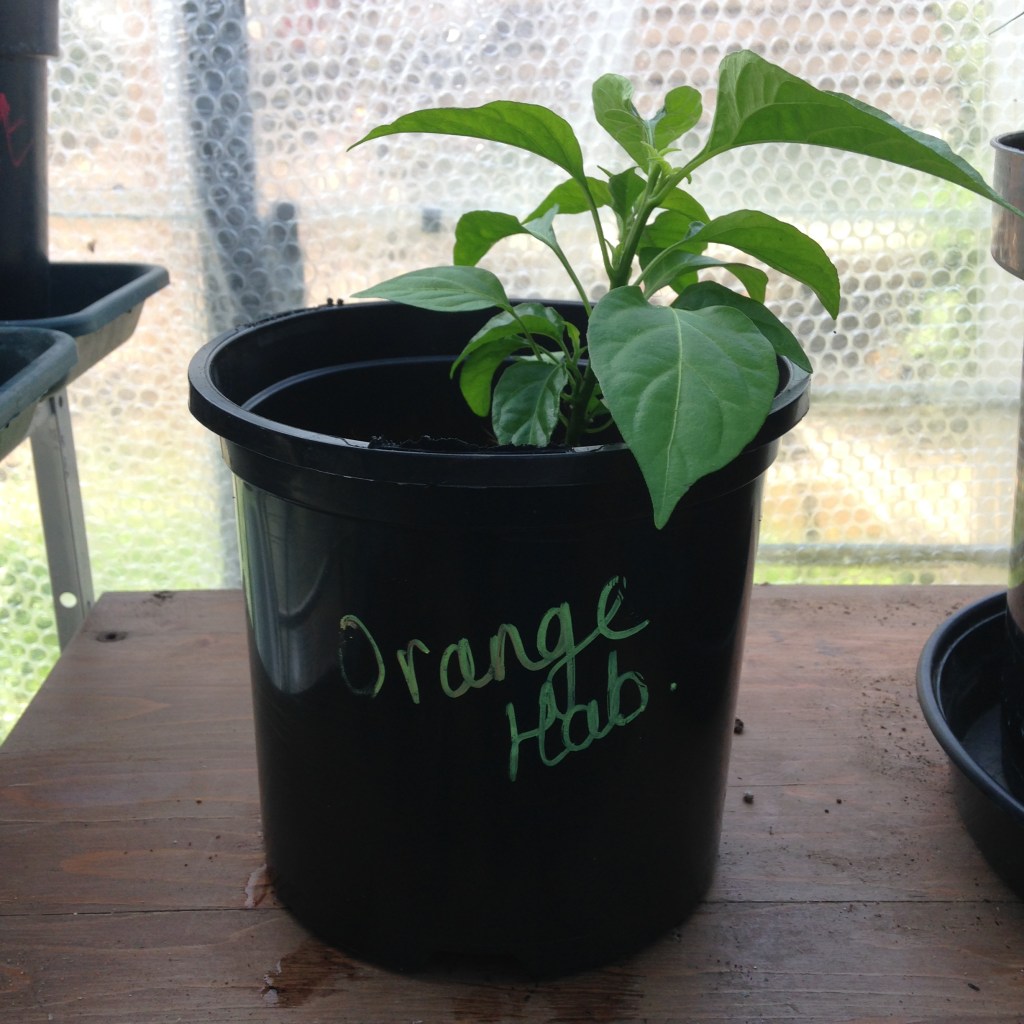
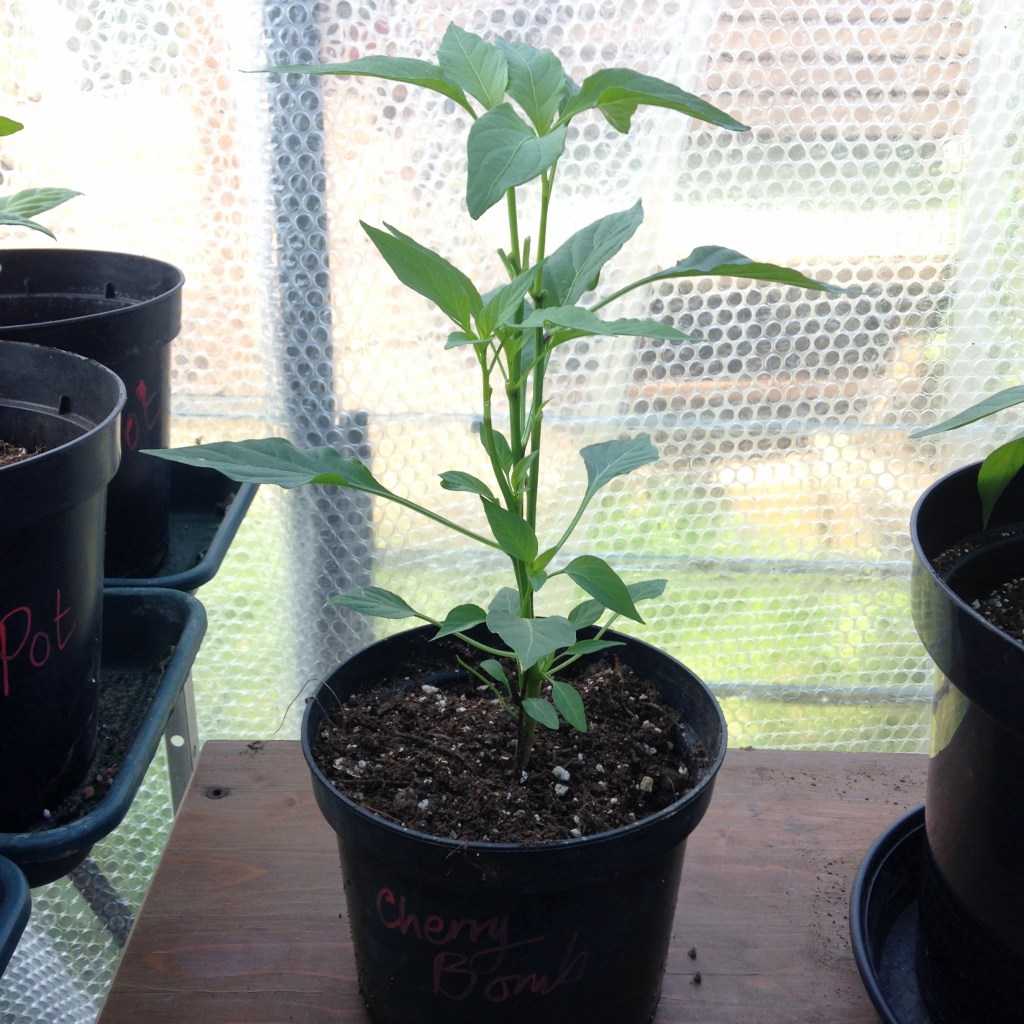
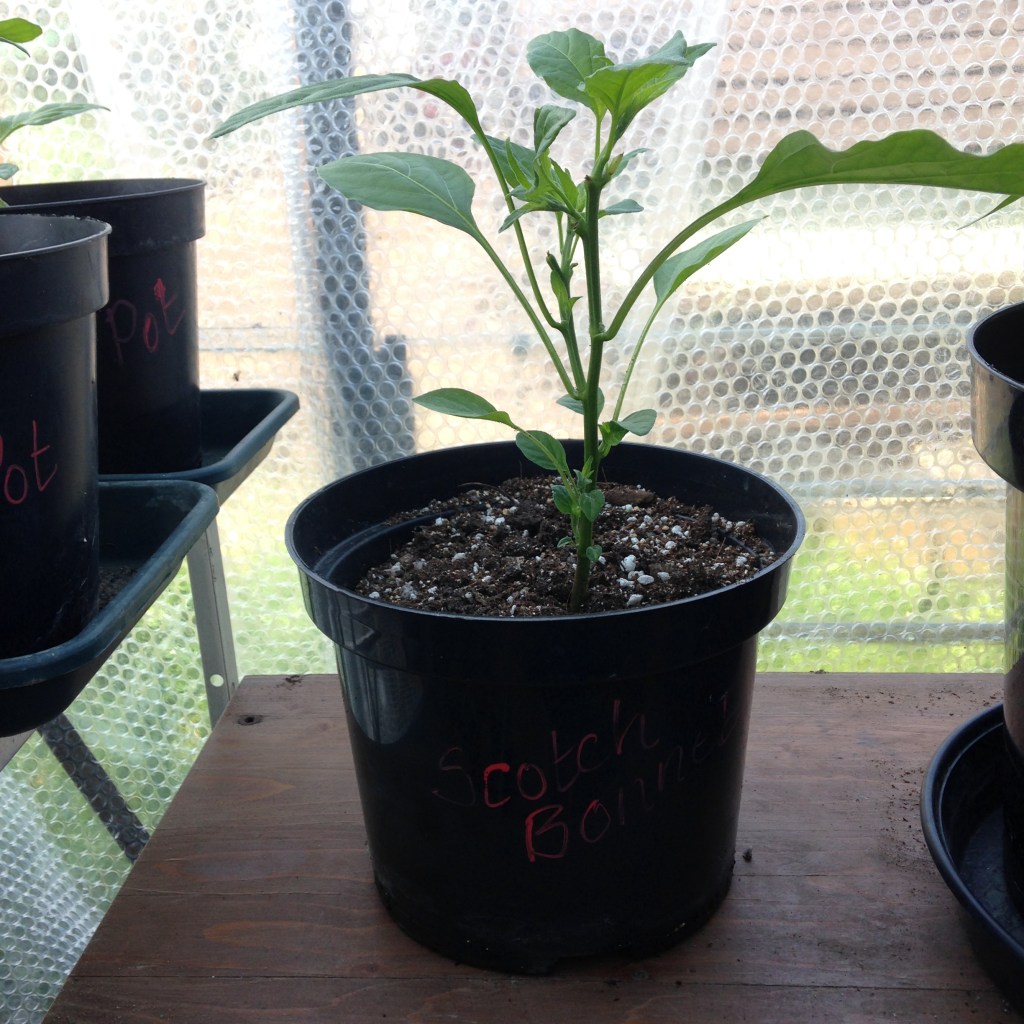
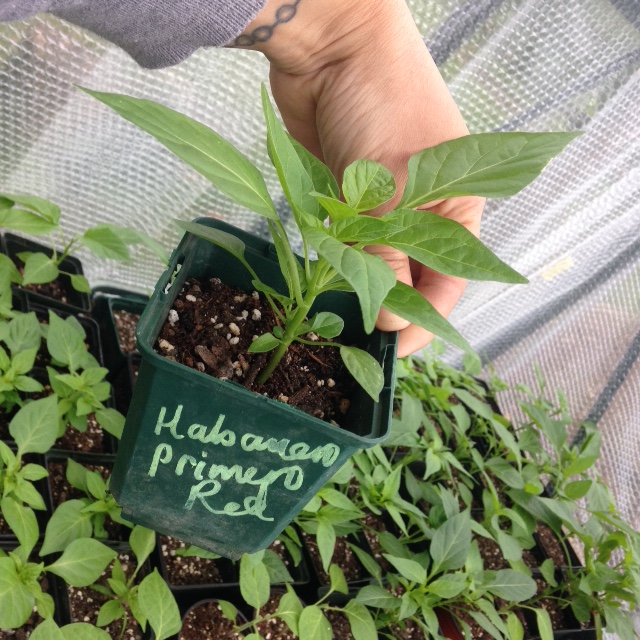
A further element to consider is which species of chillies you will be growing. The more common types of Chinense, Anuum, Baccatum, Pubescens and Frutescens are all somewhat different in their needs and growing habits.
Chinense have a long growing season (over 100 days from sowing to ripe fruit). They can take up to 6 weeks with a higher heat to germinate. germination can be erratic if the temperature fluctuates too much. Chinense love consistent heat to flower and fruit well. The longer germination time is partially why we chit before planting: just so we can see what is going on. Start as early as you can accommodate to take advantage of the full Summer and Autumn sunshine.
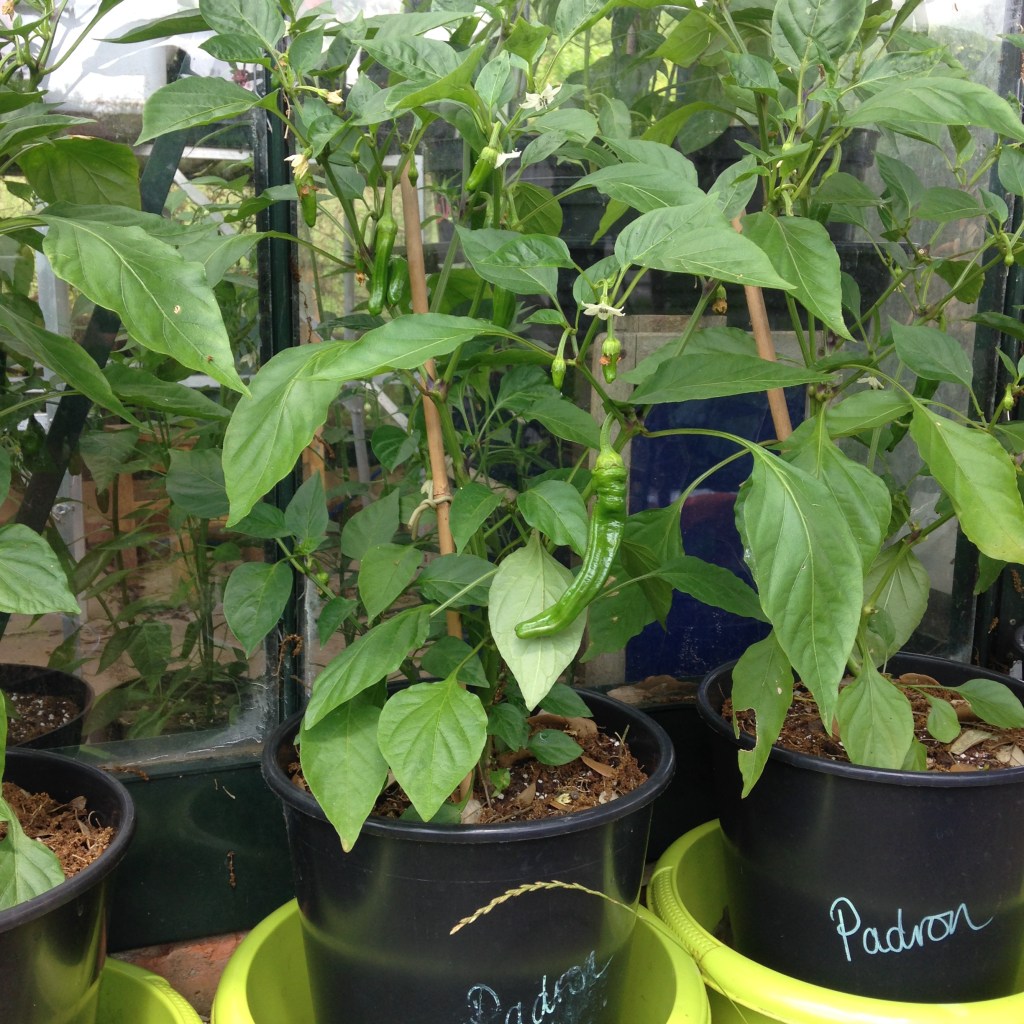
Anuum are less fussy. You could get away with planting much later and still get a reasonable crop. Too early and you may end up with leggy plants on your hands. Anuum such as Jalapenoes will take a lower grower temperature if need be.
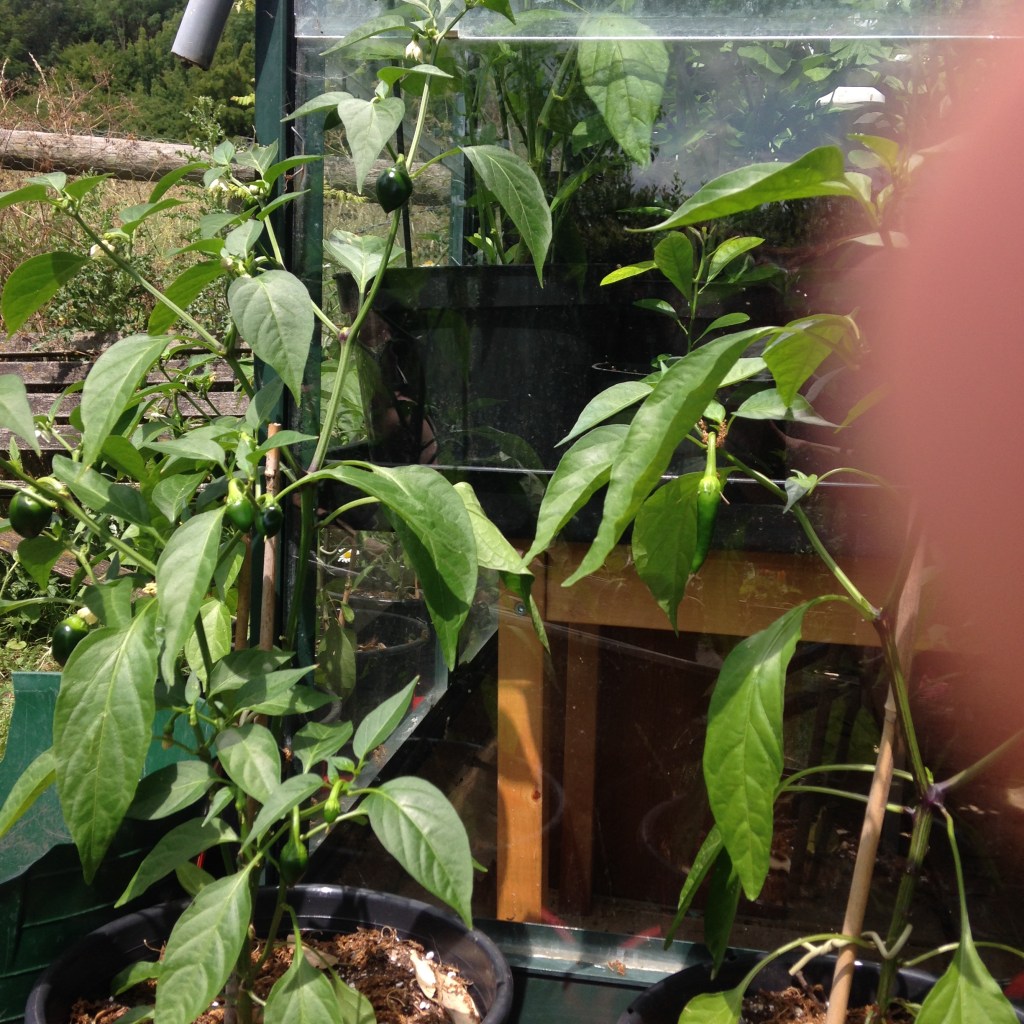
Baccatum are quick to pop, quick to grow true leaves and, later on, will happily grow outside well until the first frosts. Although they will go leggy if not given good light levels early on, they can be topped. This results in extra branches laden with glorious glossy chillies.
Pubescens are happy at lower temperatures. Perfect for the UK climate. They even have a little furry coat to keep them warm! No temperature demands for germination, happy to grow in a heated greenhouse in the early months and will keep fruiting and ripening outdoors well into mid frosts. A cloche would perhaps keep them going over Christmas.
Not sure about Frutescens as these are a first for the Birdhouse this year.
2. Preparing the seeds
Chilli seeds are encased within a tough outer shell. This protects them until the conditions are right to germinate. In a natural environment, seeds would perhaps pass through a bird’s digestive system. The digestive acids break the tough outer seed case down. We do not feed our seeds to our chickens, reclaim them and then plant them.
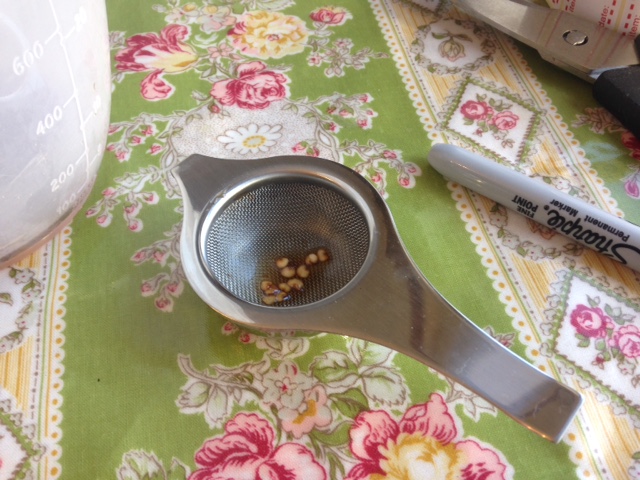
Some people do use a bird poo solution (yuck) to replicate this process. Other folk use a light sand paper to physically scarify the seed case. We soak our seeds in a black tea for 24 hours. This is a chemical scarification that starts the germination process nicely. It seems to increase the germination rate too.


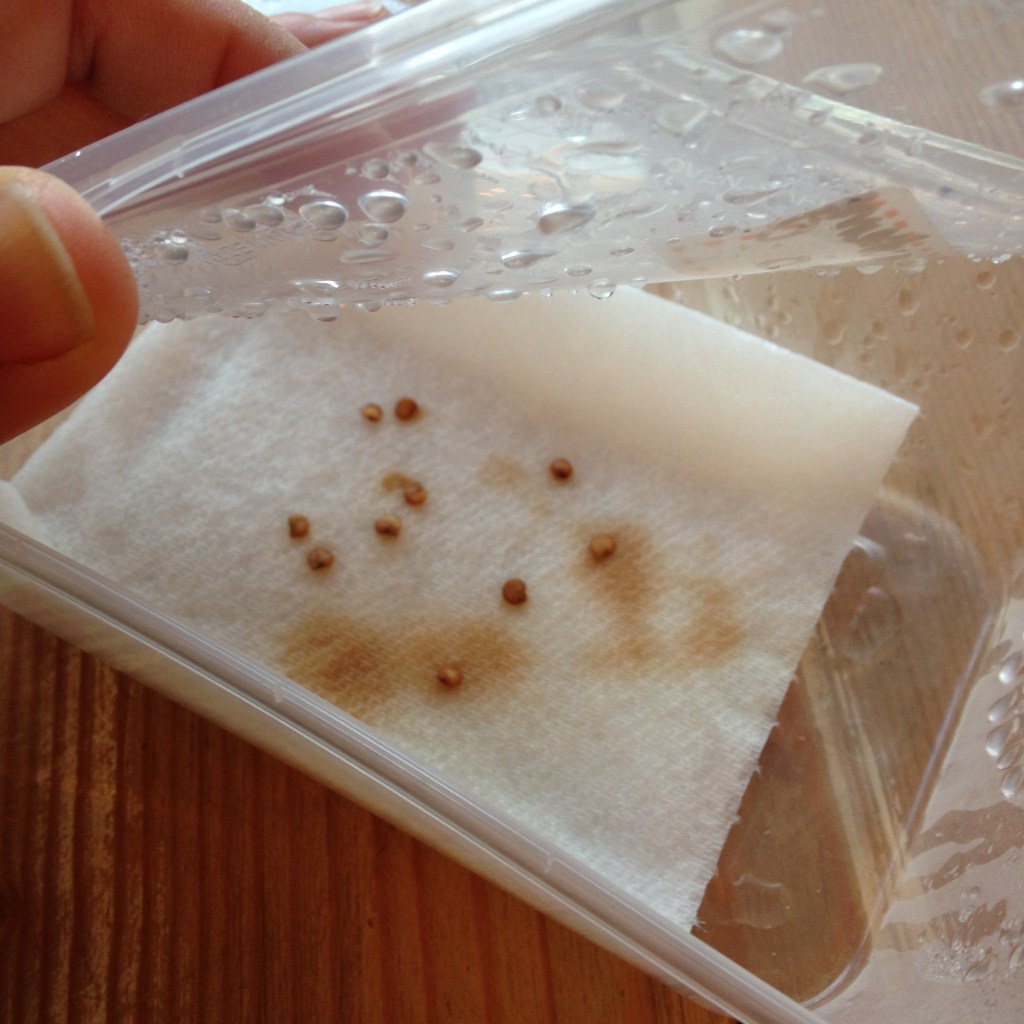
3 & 4. Where to germinate your seeds
We start our chilli seeds off in a no soil environment. We repurpose takeaway containers, line them with damp kitchen towel and then place the seeds on the paper. Spray them with water, close the lid on two corners and put them in heated propagator. Above 20 degrees if possible. This means we can keep eye on germination. As each seed pops we put it into its own little labelled paper pot and move it out of the heated propagator to a sunny window sill. Some seeds take a little longer than others. Certain types (you know who you are) can take an age.
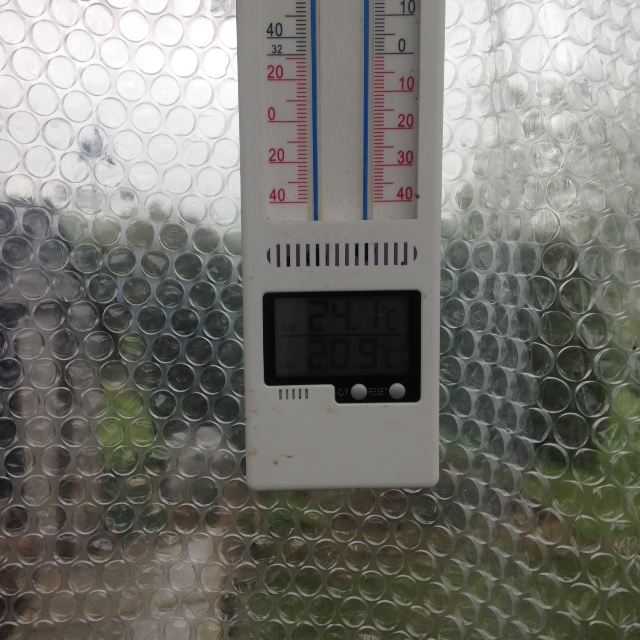
This year we might move them straight to the heated greenhouse. The temperature in their needs to be regulated though as anything under 10 degrees will check the teeny tiny seedlings. Not much point in planting nice and early if the seedlings sit a sulk for a month!

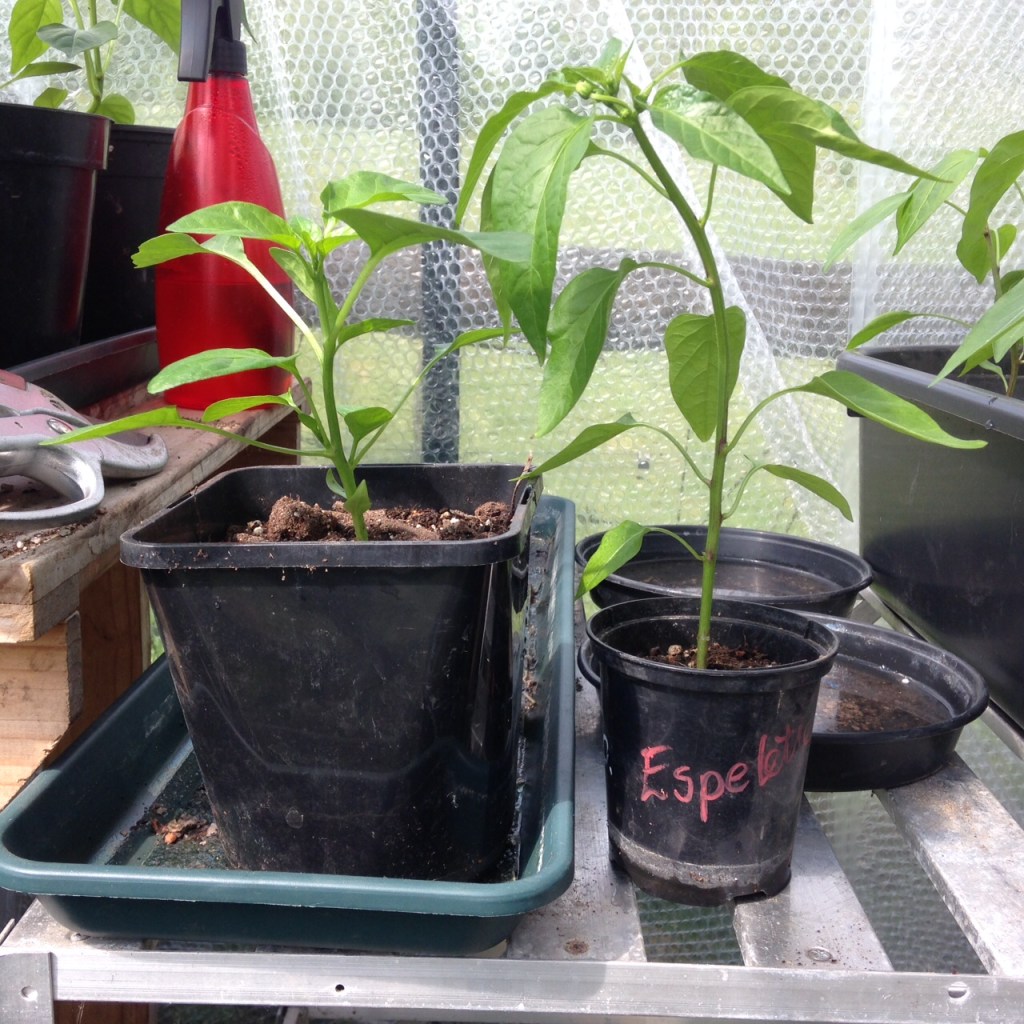
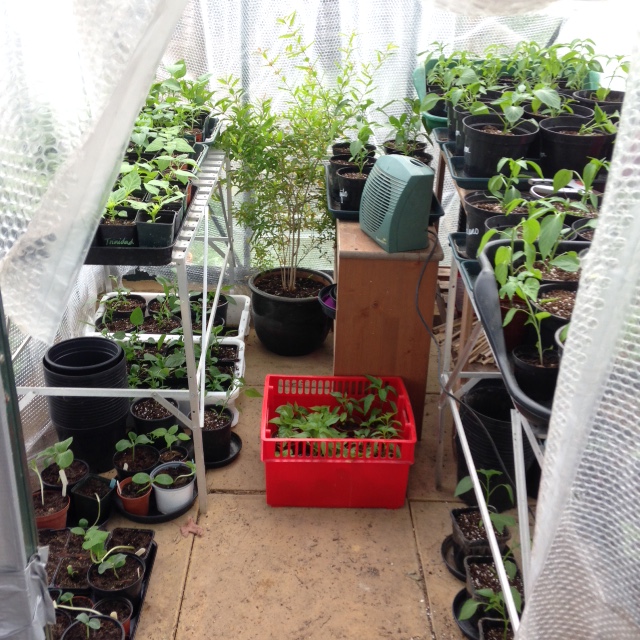
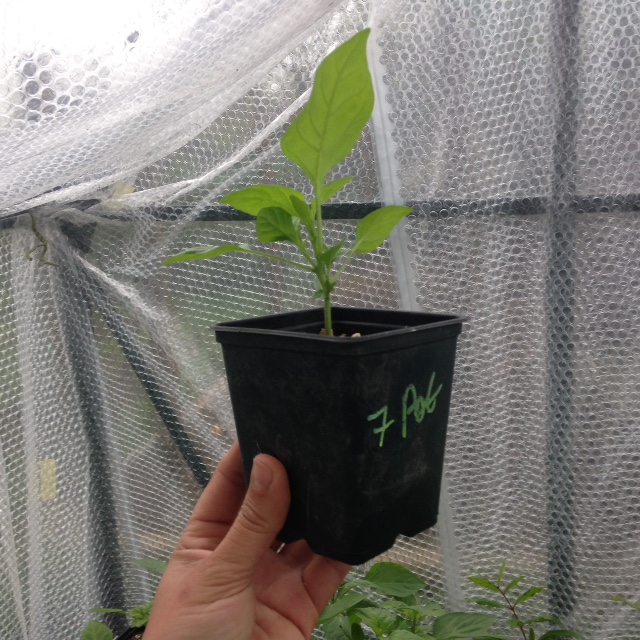
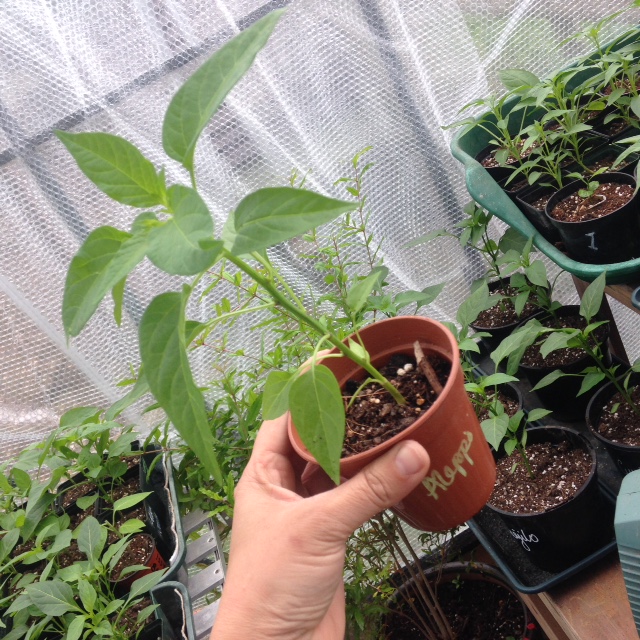
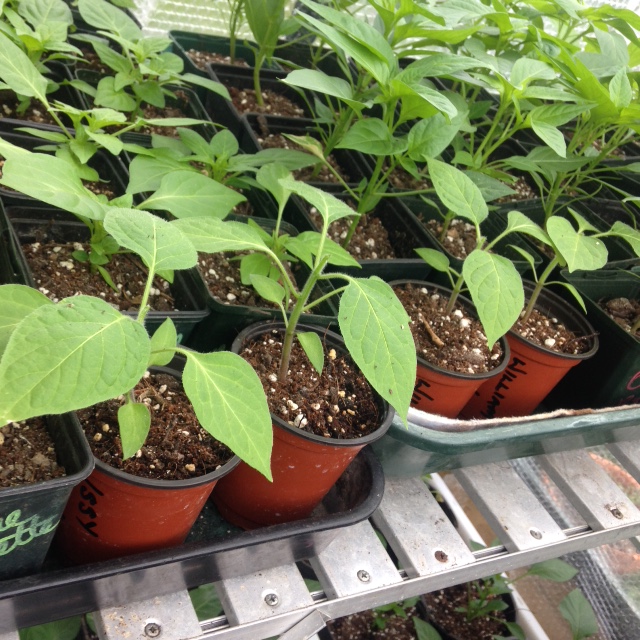
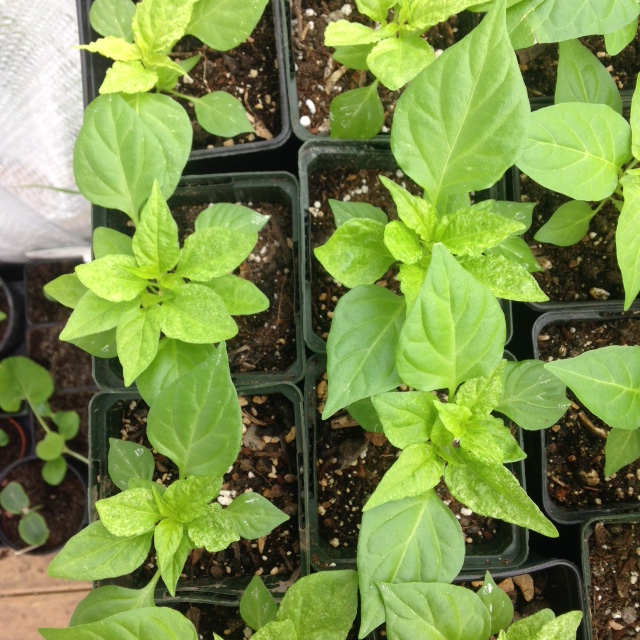
5 & 6. What to plant your seedlings into
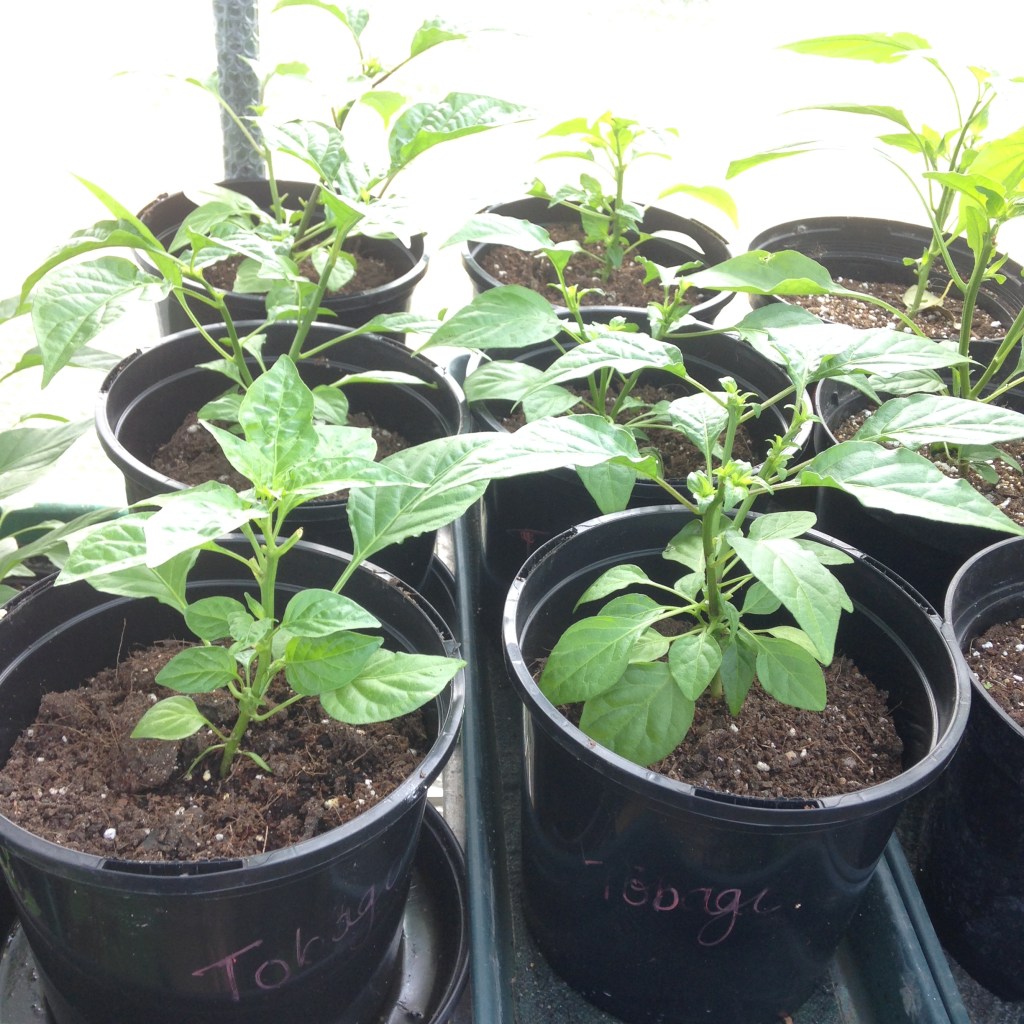
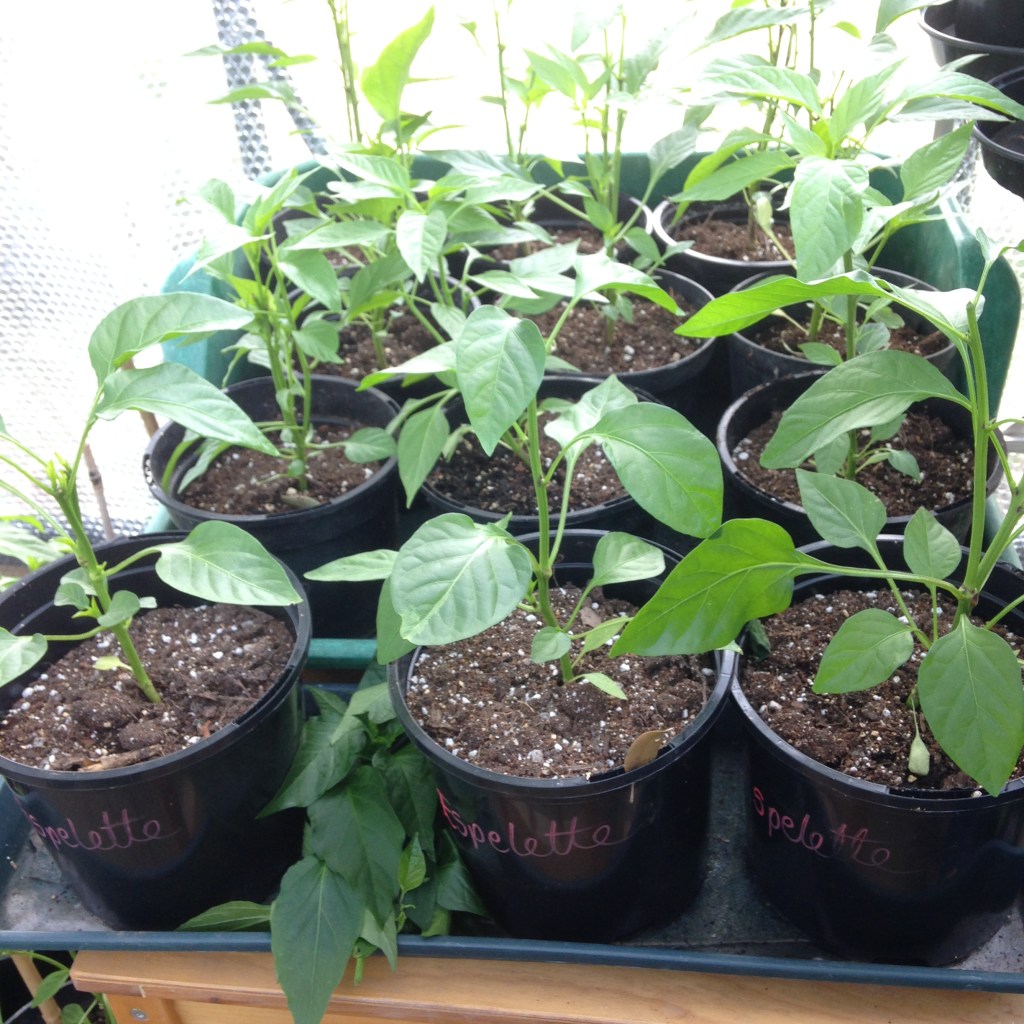
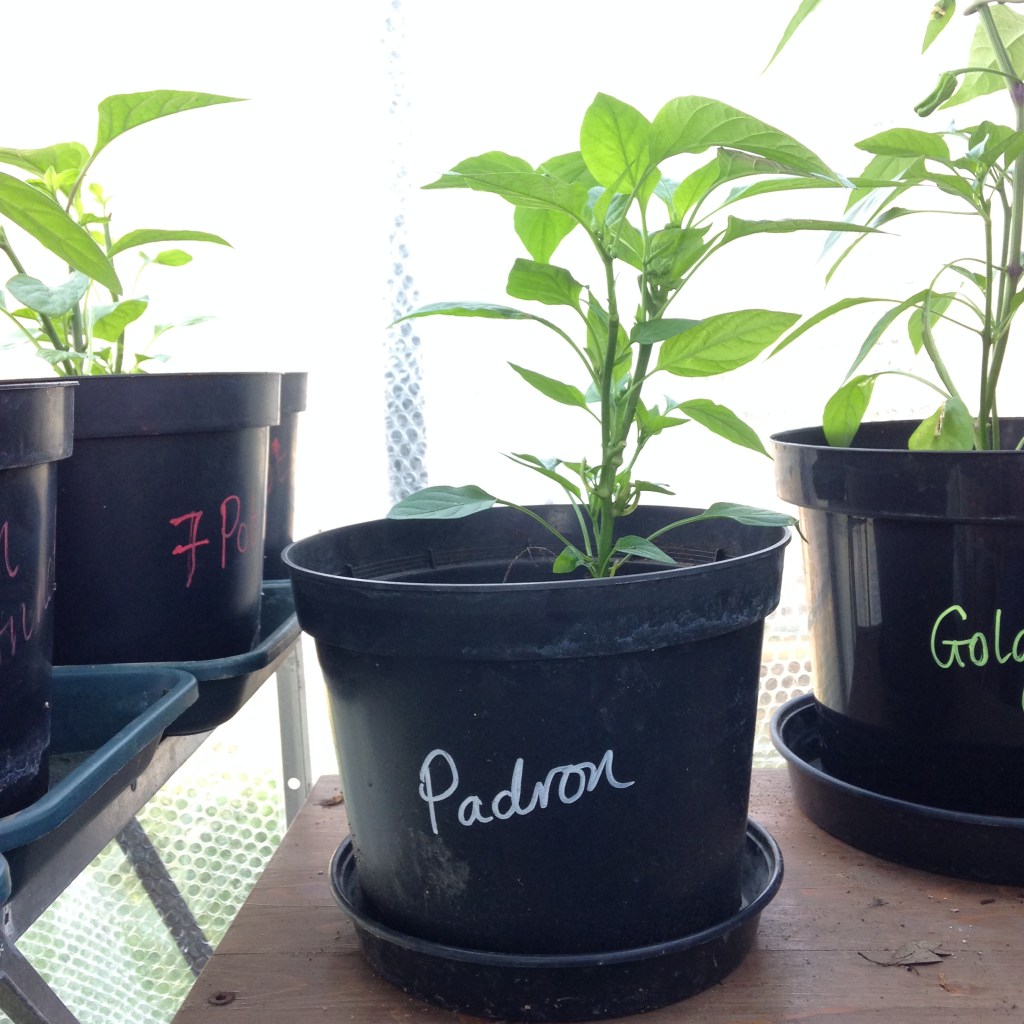
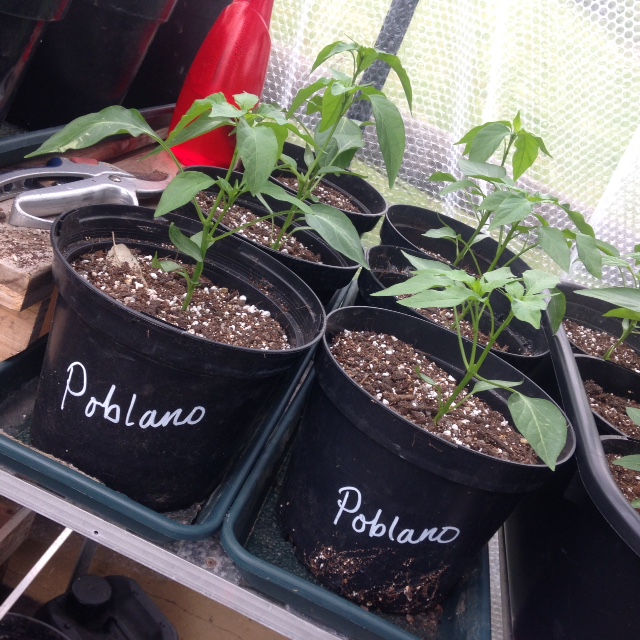
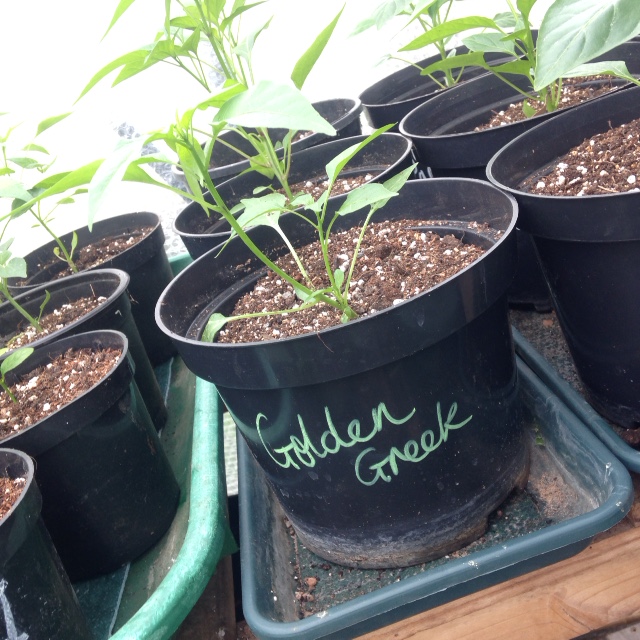
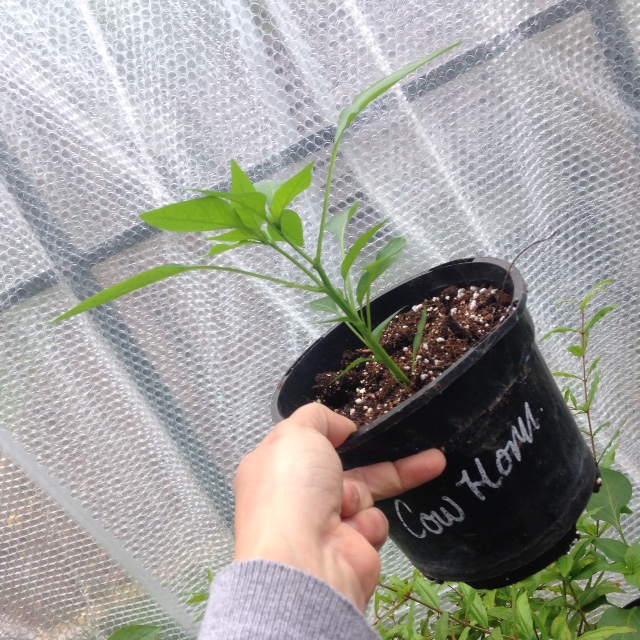
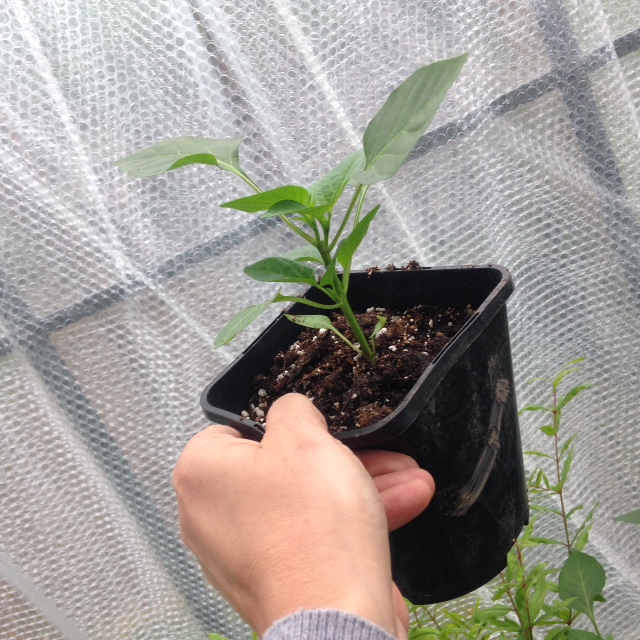
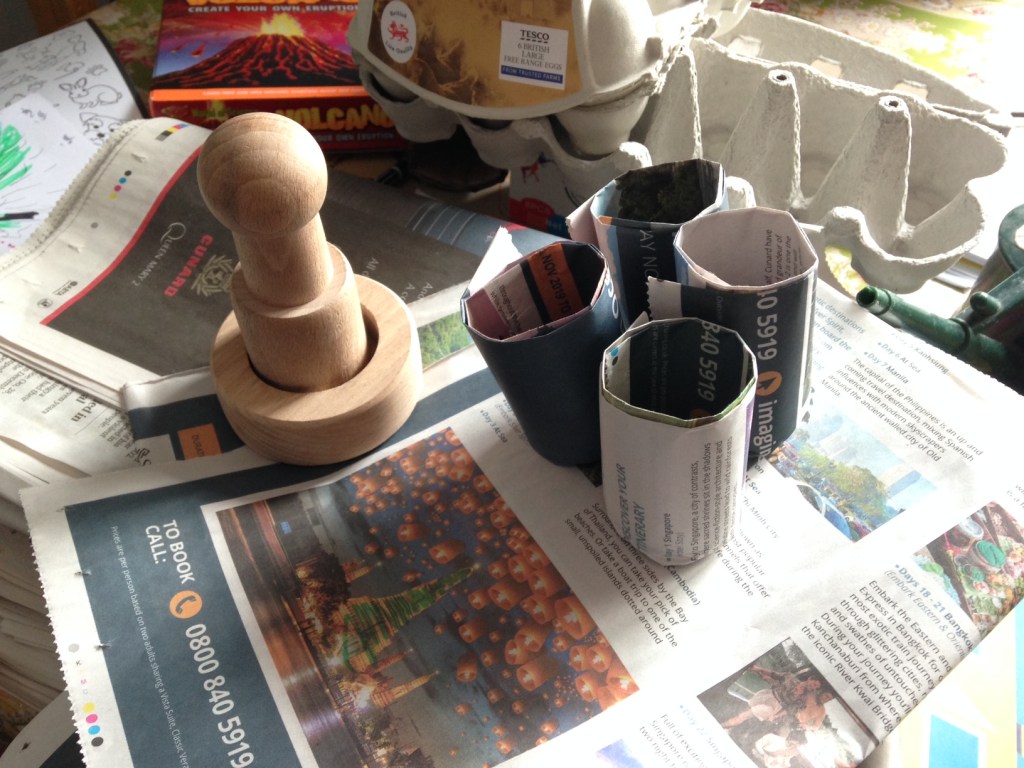
Biodegradable pots are for us. Well, for the first pot anyway. There are a wide variety of bio pots available but we make newspaper ones ourselves. Grandfather Birdhouse’s copious stash of weekly papers is put to good use: firelighters, paper pots, chicken house flooring, art projects and cleaning the windows. Eventually, it all ends up steaming on the Birdhouse compost heap.
Why do we use bio pots? We pot the newspaper pots directly on into the next size pots when the roots show through the bottom. Potting up into bigger pots can result in wilted plants, leaves dying off and checked growth. Using biodegradable pots means those first roots are able to stay exactly how they have grown with minimal disruption. And, of course, it saves money, recycles materials and saves on waste.
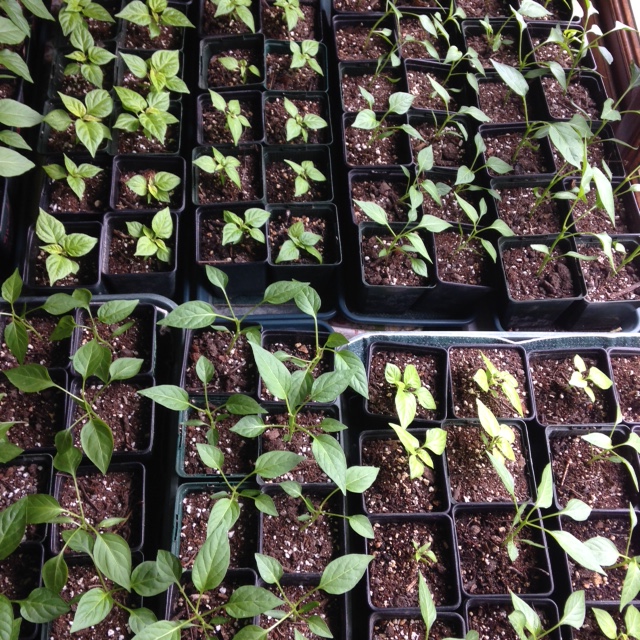
We make pots in batches. You can really get a rhythm going. We have over 250 seeds currently chitting in our Old Faithful propagator. Must crack on with making the 2020 pots as surely there will be a seed popping soon.
Soon (hopefully) there will be little pots warming up on our sunny South facing windowsills, filled with fluffy soil, ready to receive the germinated seedlings.
We use a straightforward seed compost mixed with about 20% perlite to avoid everything getting too cold and soggy. No nutrients will be needed initially as we will be adding a light feed as soon as those seed leaves are up and above the soil. Until then the plant can feed itself from its own store.
7 & 8 & 9. Water, warmth, food, and light for the seedlings
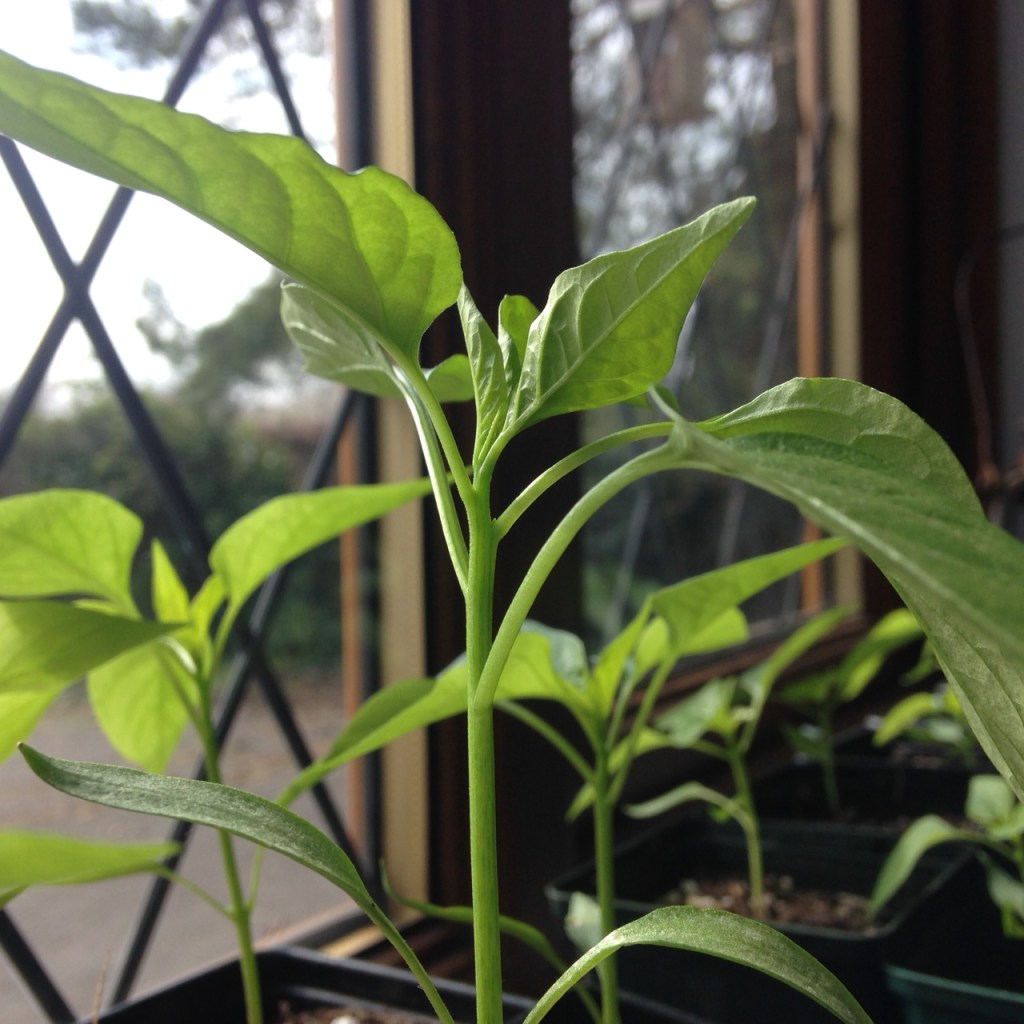
Once the germinated seeds are ensconced in their petit paper pots the emphasis shifts to keeping them at a good temperature, in the best light and watered well.
Drenching the baby plants with a showering of freezing cold tap water is not going to get good results. Place the pots on trays with capillary matting. Keep the trays in a warm space, near a radiator or in the gentle winter sun. Water them only when needed. Use warm water, from the base.
After a week or so, introduce a weak feed to the water. Nothing too high in Nitrogen yet as we want strong healthy roots and structure rather than mega leaf growth at this point in the year. Our aim is to keep the plants as short and dark green as possible.

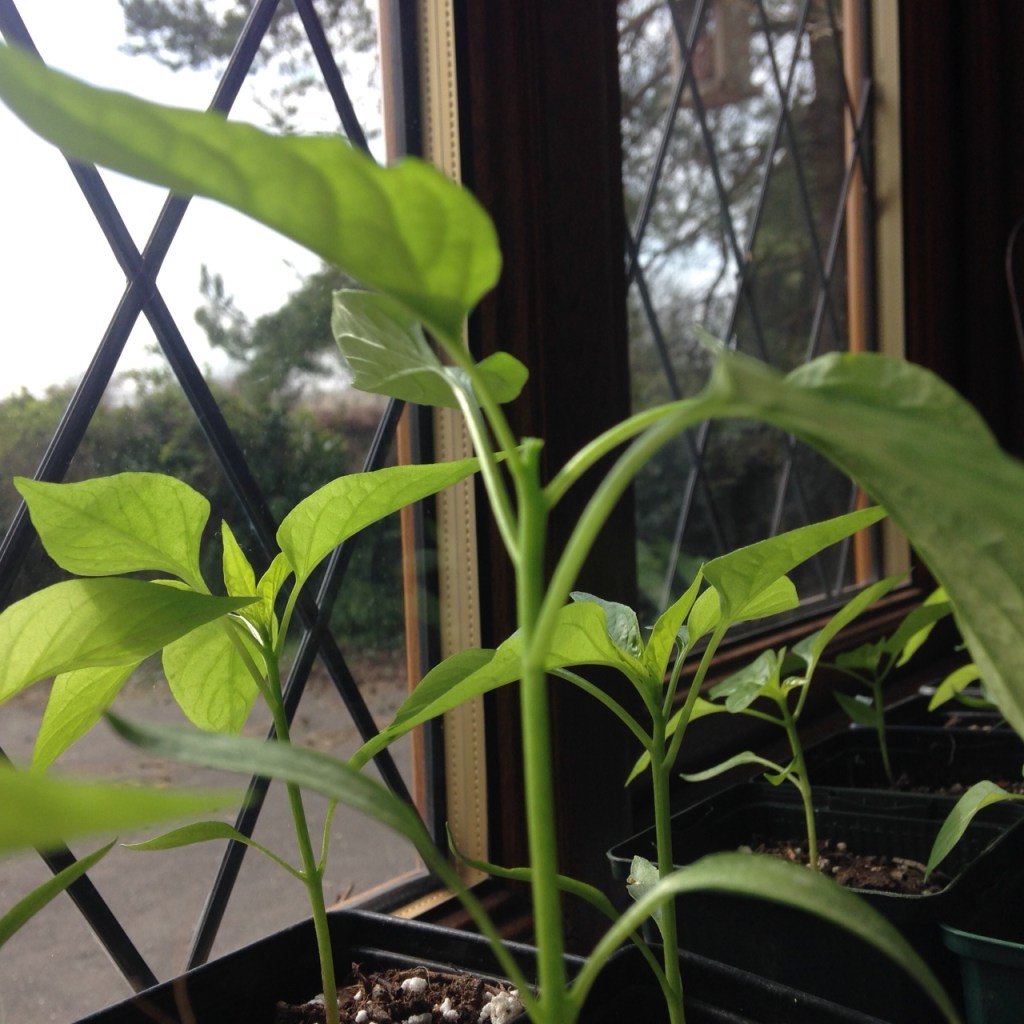
10. Let there be light.
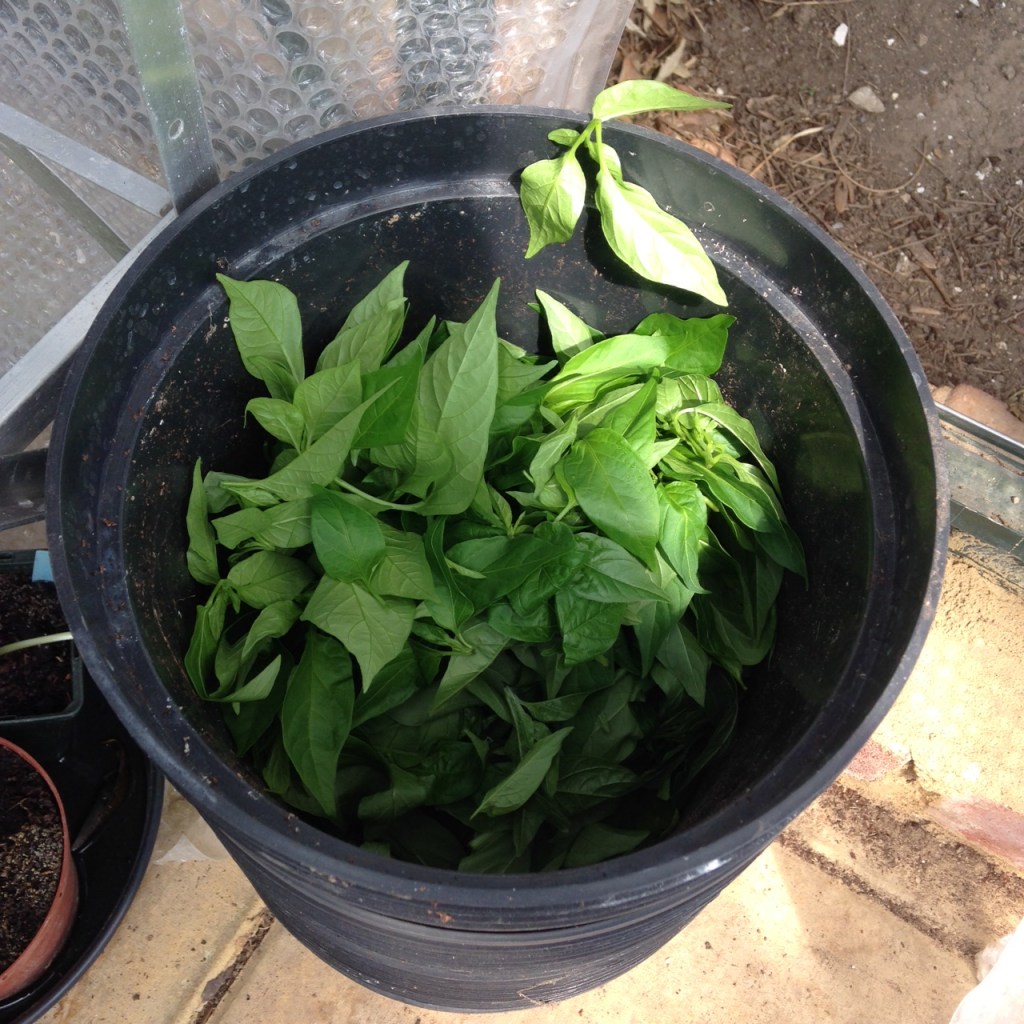
We have wonderful South facing windows. Excellent. We have space for around 100 seedling. Good stuff. We are currently growing around 250 seedling. Hmm, not such great news.
How can we meet this challenge? Well, Father Christmas provided a set of grow lights. We need to investigate how to set these up and get them working best for the maximum number of plants.
Other than that, it will be the daily task of turning pots to avoid the plant stems lengthening to reach for the light. And then the rotation of trays so no plants are left furthest away from the windowsill for more than a day. It takes some time to do this but it really does give us a chance to look at each plant, check water levels, spot any fungus, remove any damped off plants and spy any early aphids.
And there we have it…the plan for the next few weeks. Now, come along seeds, let’s see some action!